 Save
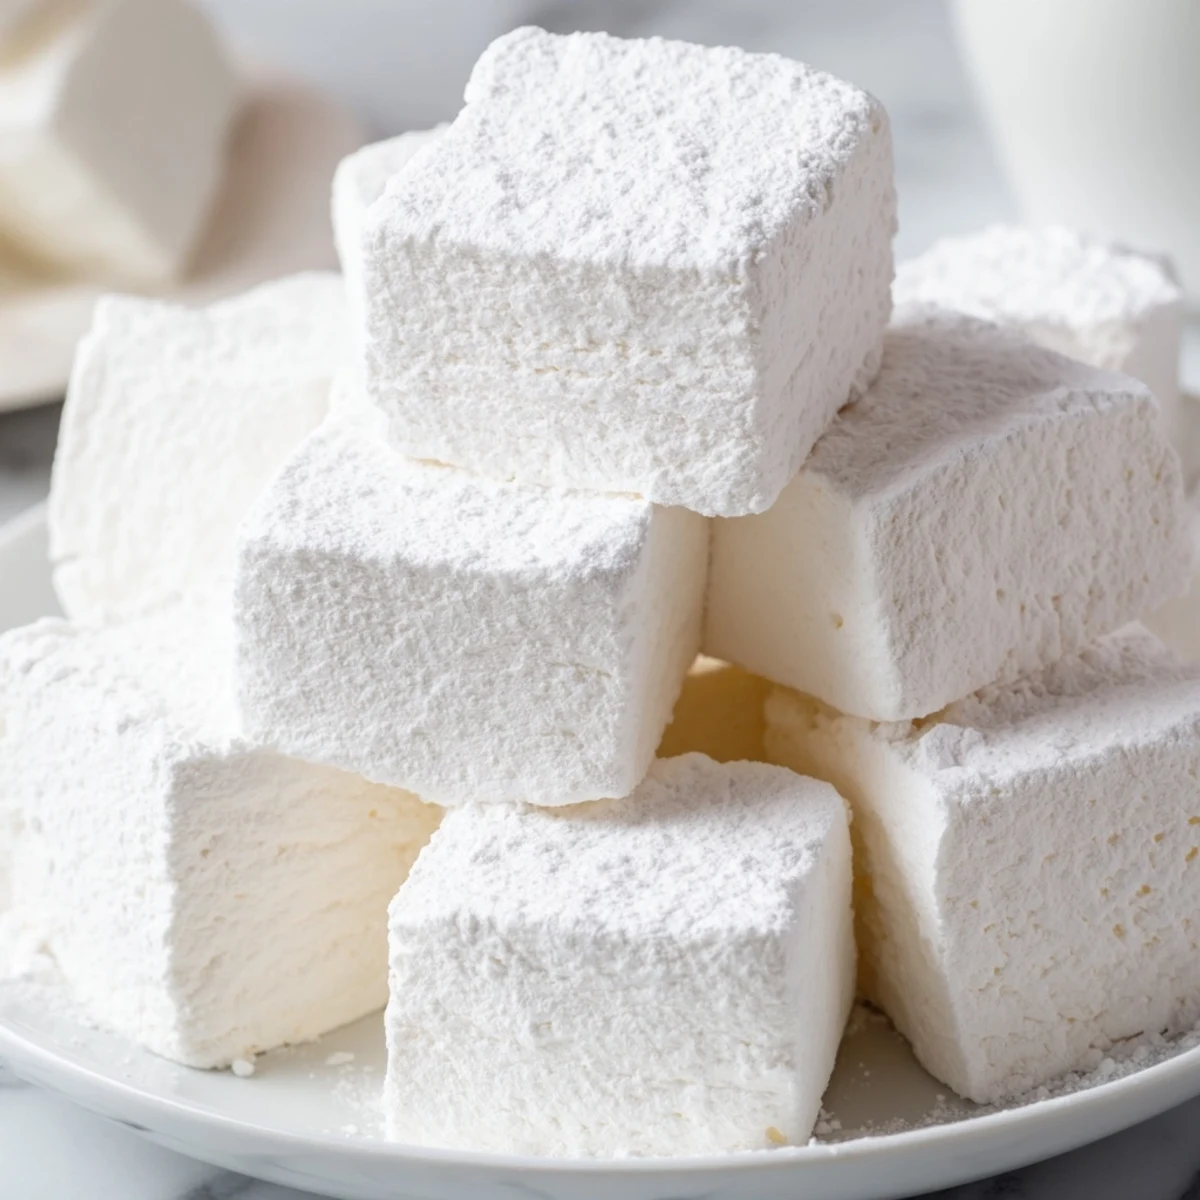
Save Master the art of creating light, airy marshmallows with a classic vanilla profile. These homemade confections deliver the perfect pillowy texture that store-bought versions can't match. The process involves blooming gelatin, cooking a simple sugar syrup to 240°F, then whipping the mixture until it triples in volume and becomes snowy white.
After setting for four hours or overnight, you'll have 24 squares of cloud-like sweetness ready for hot cocoa, roasting over campfires, or enjoying straight from the container. The vanilla-forward base adapts beautifully to peppermint, almond extracts, or food coloring for endless customization.
The first time I watched sugar transform into glossy white fluff, I felt like a kitchen magician. My stand mixer whined against the thickening mass, and suddenly—poof—this billowy cloud filled the entire bowl. Now whenever winter settles in, my youngest asks if we can make that magic again.
Last December, we hosted a hot chocolate bar for neighborhood kids. I made triple batches, cutting them into perfect cubes, and watched eight year olds eyes widen when they realized these werent from a plastic bag. One little girl asked if she could take home the bag of dusty sugar leftovers to lick later.
Ingredients
- Granulated sugar: The foundation of your syrup, dont substitute with brown sugar or honey
- Light corn syrup: Prevents crystallization so your marshmallows stay smooth instead of gritty
- Unflavored gelatin: Essential for structure, let it bloom fully or your marshmallows will collapse
- Vanilla extract: Pure extract makes all the difference, imitations taste flat in such a delicate sweet
- Confectioners sugar and cornstarch: This coating keeps everything from sticking together into one giant blob
Instructions
- Prep your pan first:
- Line a 9x9 inch pan with parchment paper, then whisk together half your confectioners sugar and cornstarch and dust the pan generously—this lining is your marshmallow safety net.
- Bloom the gelatin:
- In your stand mixer bowl, sprinkle gelatin over 1/2 cup cold water and let it sit for at least 10 minutes until it looks like wrinkled paper soaking up liquid.
- Make the sugar syrup:
- Combine granulated sugar, corn syrup, remaining 1/4 cup water, and salt in a saucepan, stirring just until sugar dissolves, then stop stirring completely.
- Heat to precise temperature:
- Bring to a boil and cook until your candy thermometer hits exactly 240°F, about 10 to 12 minutes—this is nonnegotiable for the right texture.
- Combine and whip:
- With mixer on low, carefully stream hot syrup into bloomed gelatin, then gradually increase to high and whip for 8 to 10 minutes until the mixture has tripled and feels like stiff clouds.
- Add flavor and pour:
- Beat in vanilla for 30 seconds, then quickly scrape into your prepared pan—this stuff sets up fast, so work like your kitchen timer just went off.
- Dust and wait patiently:
- Sift remaining sugar cornstarch mix over the top, then leave it alone for at least 4 hours or overnight, uncovered.
- Cut and coat:
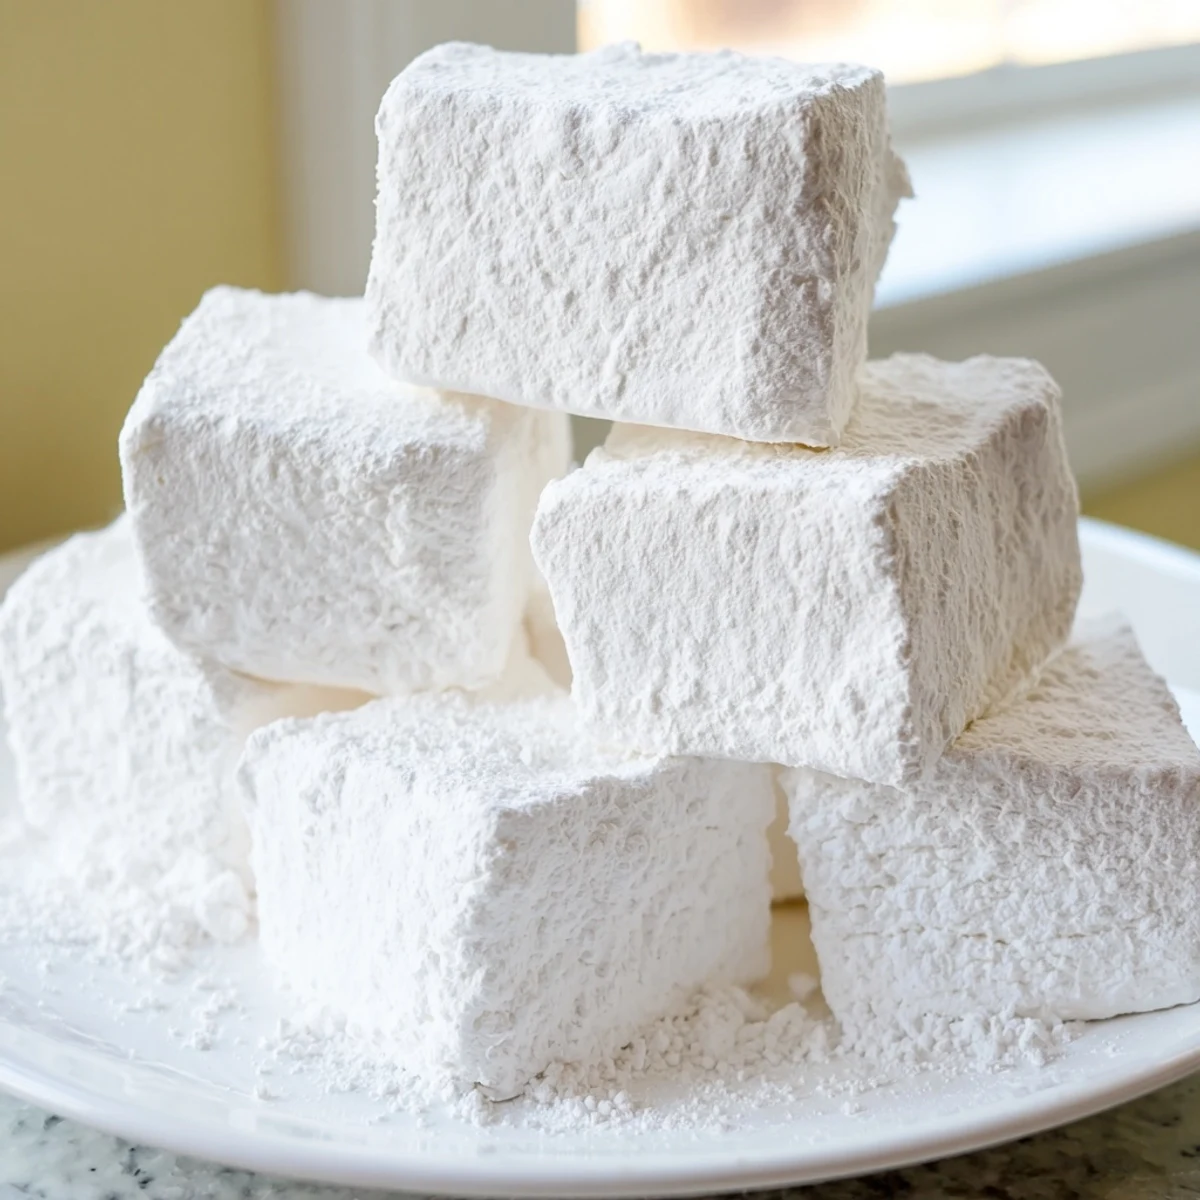
- Turn onto a board, cut with a sharp knife dusted in powdered sugar, then toss pieces in the sugar cornstarch mixture until they look like little snowdrifts.
 Save
Save My friend Sarah dropped by during the four hour waiting period once and asked why there was a pan of white cement on my counter. She left a believer after one taste of the finished squares, texting me the next day that her kids refused regular marshmallows ever again.
Getting Creative With Flavors
Swirl in food coloring with the vanilla for pastel marshmallows that look dreamy in gift bags. Replace vanilla with peppermint extract and coat in crushed candy canes, or try almond extract for something that tastes likebakery nougat.
The Setting Truth
Four hours is the absolute minimum, but overnight is better. I learned this the hard way when I cut into a too fresh batch and ended up with sticky white fingerprints everywhere and misshapen blobs instead of clean squares.
Storage And Uses
Keep them in an airtight container for up to a week, though they rarely last that long in my house. Drop them into hot chocolate, toast over a burner until golden, or just snack on them straight from the container.
- These freeze surprisingly well for up to a month
- Wrap individual squares in wax paper for homemade gifts
- Cut them larger for s mores or smaller for hot chocolate
 Save
Save Theres something deeply satisfying about making something most people only know from plastic bags. Once you taste your first batch, the store versions will taste like sweet rubber forever after.
Recipe FAQs
- → Why must I use a candy thermometer?
-
The sugar syrup needs to reach exactly 240°F (115°C) to achieve the proper concentration. This temperature stage, called the soft-ball stage, ensures your marshmallows set correctly with the right chewy-yet-soft texture. Without accurate temperature control, the marshmallows may turn out too sticky, dense, or won't hold their shape properly.
- → Can I make marshmallows without a stand mixer?
-
While a stand mixer makes the process much easier, you can use a hand mixer with strong beating power. The whipping step takes 8-10 minutes on high speed, so ensure your hand mixer can handle prolonged use. The key is incorporating enough air to triple the volume, so don't cut the whipping time short even if your arm gets tired.
- → What's the purpose of blooming gelatin?
-
Blooming allows the gelatin granules to absorb water and soften before they encounter the hot sugar syrup. This crucial step prevents clumping and ensures even distribution throughout the mixture. Without proper blooming, you'll end up with rubbery, uneven marshmallows with gelatin lumps that didn't dissolve properly.
- → How long do homemade marshmallows last?
-
Stored properly in an airtight container at room temperature, these marshmallows stay fresh for up to one week. Avoid refrigeration, which introduces moisture and makes them sticky. If you need longer storage, freeze them for up to three months, though they may lose some of their signature fluffiness upon thawing.
- → Can I substitute corn syrup with honey or maple syrup?
-
Honey and maple syrup add distinct flavors that overpower vanilla and create different textures. Corn syrup provides neutral sweetness and prevents crystallization, which is crucial for smooth marshmallows. For corn-free alternatives, use glucose syrup or agave nectar, though the final texture may vary slightly from the classic version.
- → Why did my marshmallows turn out sticky or gooey?
-
Sticky marshmallows usually result from undercooked sugar syrup or high humidity. Ensure your thermometer reads exactly 240°F before removing from heat. If making marshmallows on a rainy or humid day, they may absorb moisture from the air. Dust generously with the sugar-cornstarch coating and store in a dry environment.
