 Save
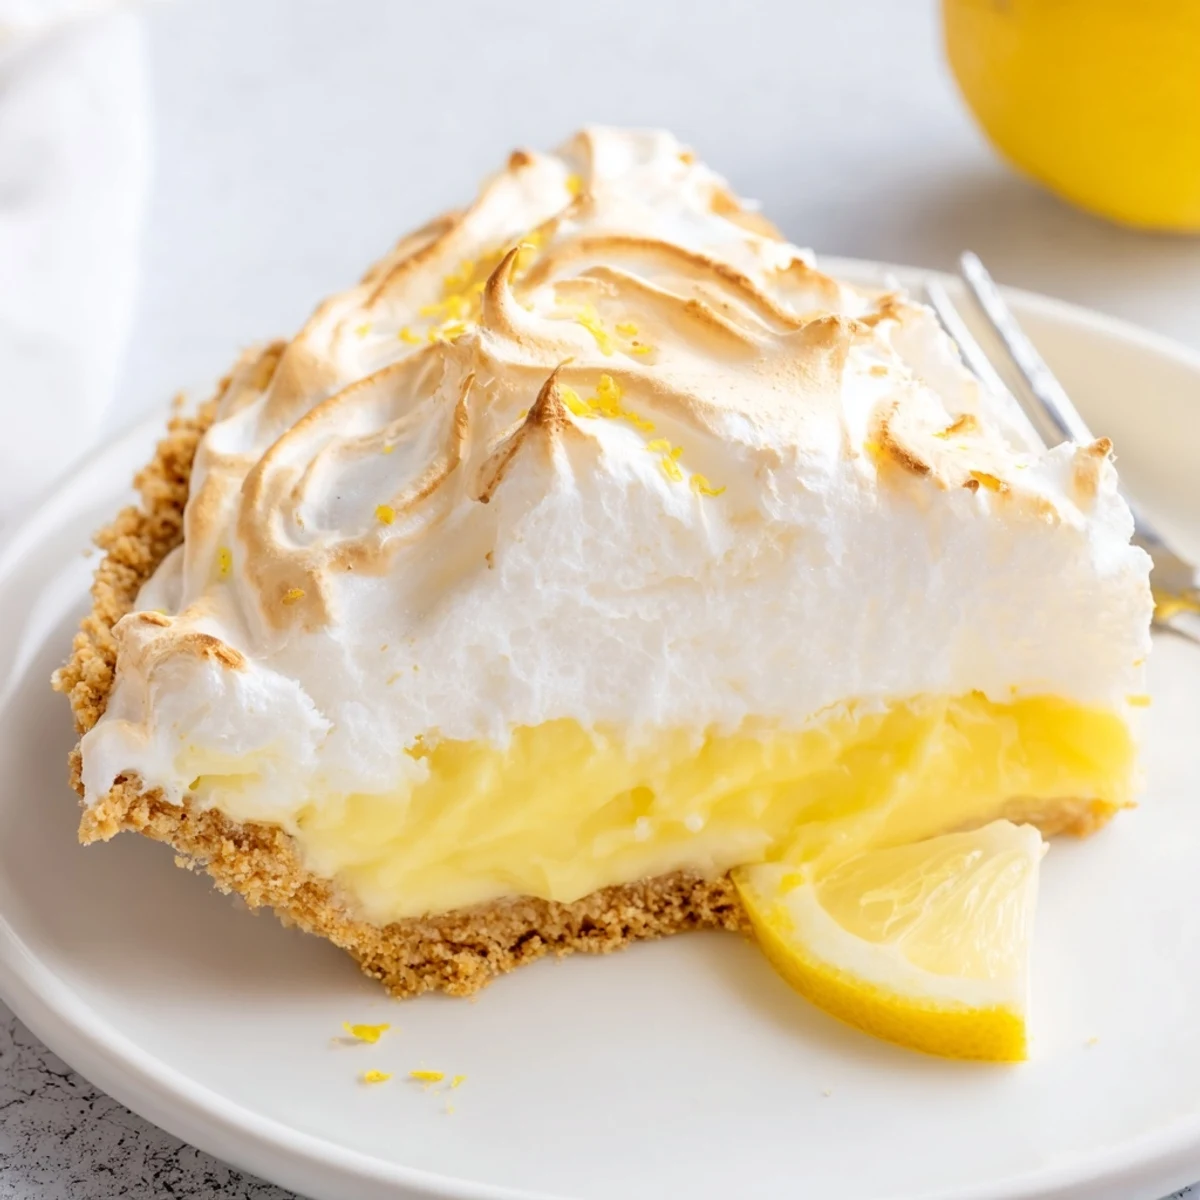
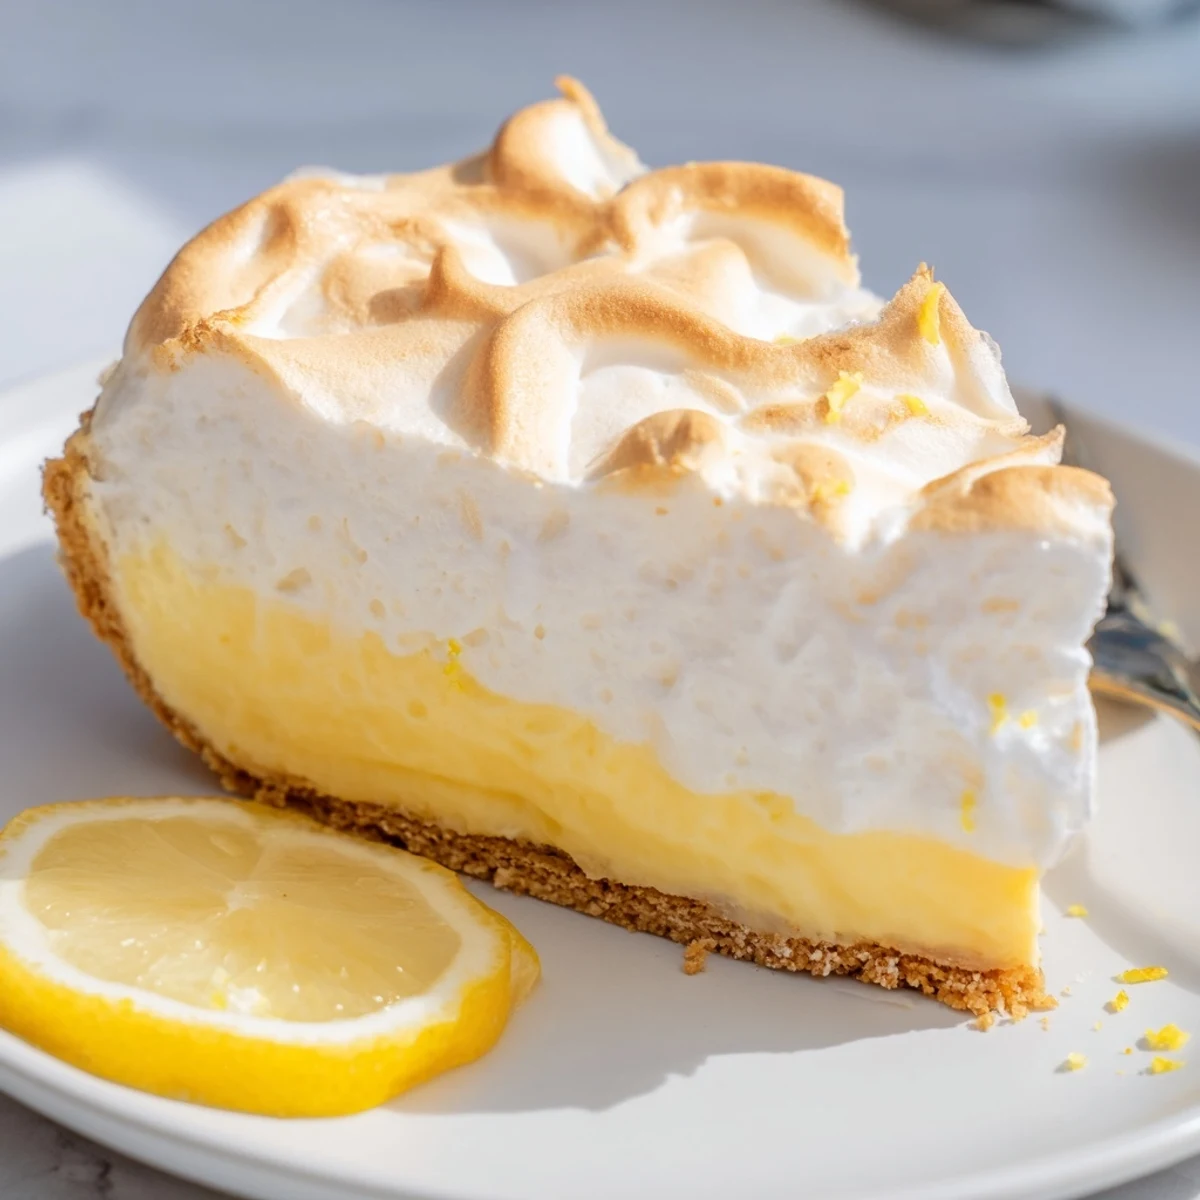
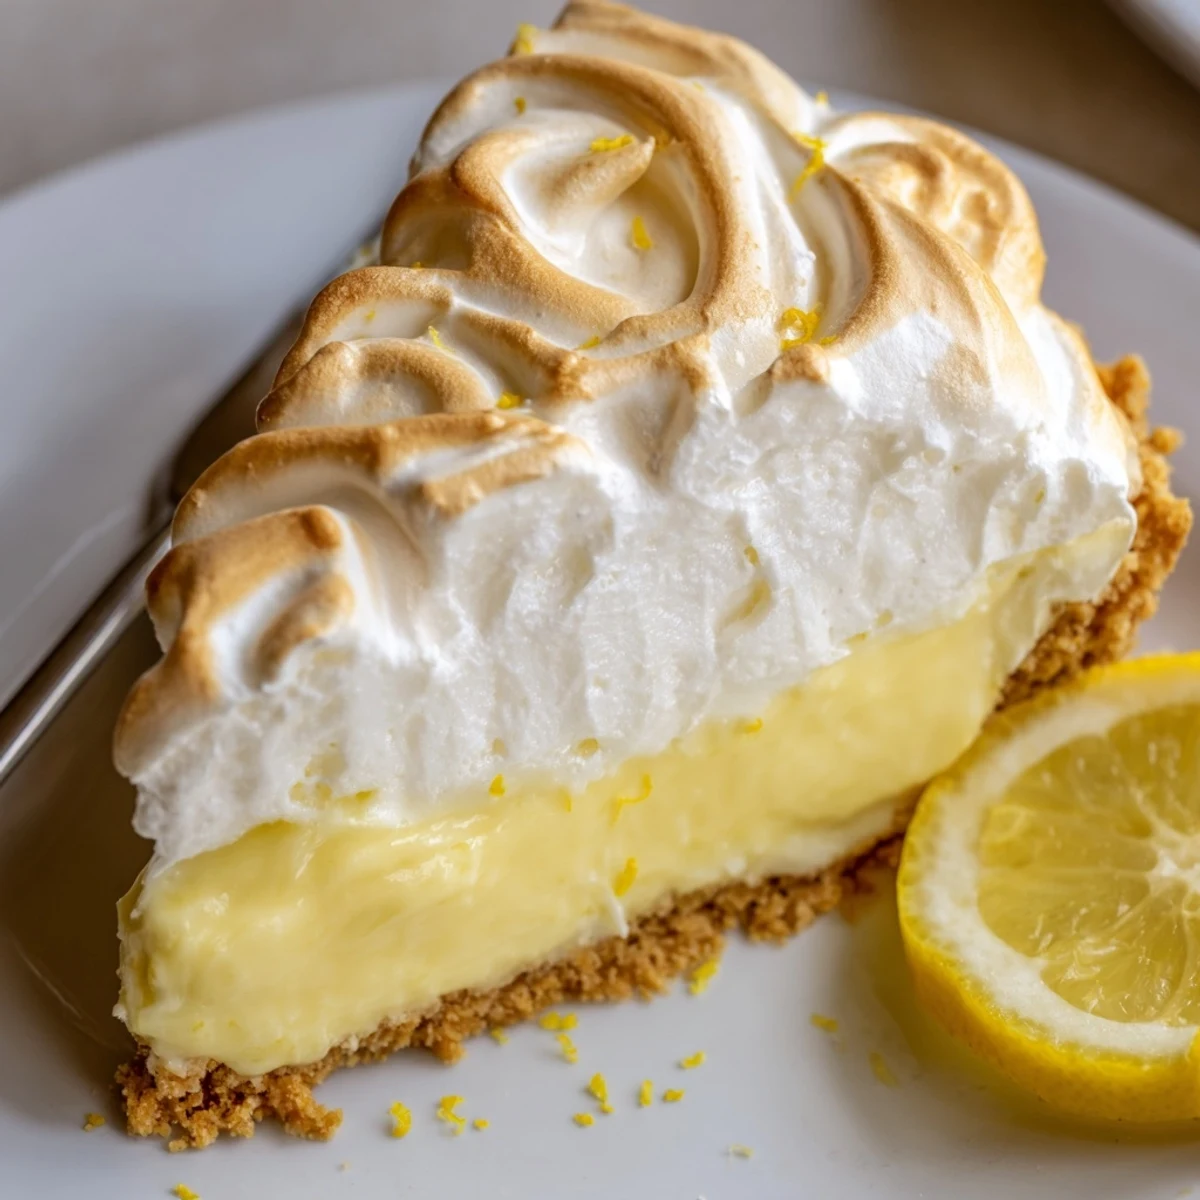
Save This real lemon pie features a buttery graham cracker crust filled with a bright, tangy lemon custard made from fresh lemon juice and zest. The filling is cooked on the stovetop with sugar, cornstarch, and egg yolks until thick and silky, then poured into the baked crust.
An optional meringue topping made from whipped egg whites and sugar can be spread over the hot filling and baked until golden. After cooling and chilling, the pie sets into a creamy, refreshing dessert perfect for warm weather gatherings.
Plan ahead for chilling time — the pie needs at least one hour in the refrigerator before slicing for the cleanest results.
The screen door slammed shut behind me as I carried a bag of Meyer lemons from my neighbor Helens tree, their skins still warm from the afternoon sun. She had insisted I take them all, claiming shed never use fifty lemons before they turned, and she was probably right. That evening my kitchen smelled like a citrus grove in the middle of suburbia, and I ended up making this pie three times that week because I kept giving slices away.
I brought one of those pies to a potluck at my friends apartment and watched two strangers get into a genuine debate over who deserved the last piece. Someone asked if I had bought it from a bakery, which might be the greatest compliment a home cook can receive. The meringue was slightly lopsided because I was rushing, but nobody seemed to care.
Ingredients
- Graham cracker crumbs (1 1/2 cups, 180 g): Fresh crumbs make a noticeable difference, so I pulse whole crackers in a food processor rather than buying pre ground ones.
- Granulated sugar for crust (1/4 cup, 50 g): Just enough sweetness to balance the buttery, toasty flavor without making the crust taste like a cookie.
- Unsalted butter, melted (1/2 cup, 115 g): The butter acts as the glue that holds the crust together, and using unsalted lets you control the final flavor.
- Granulated sugar for filling (1 cup, 200 g): This amount balances the tartness of fresh lemon juice perfectly, though I sometimes cut back a tablespoon if my lemons are on the milder side.
- Cornstarch (1/4 cup, 35 g): The thickening powerhouse that transforms the liquid mixture into a sliceable filling that does not run when you cut into it.
- Salt (1/8 tsp): A tiny pinch that wakes up every flavor in the filling and keeps it from tasting flat.
- Water (1 cup, 240 ml): Provides the base liquid that allows the cornstarch to do its job and creates the right consistency.
- Freshly squeezed lemon juice (1/2 cup, 120 ml, about 3 to 4 lemons): Bottled juice simply will not give you the same brightness, so squeeze your own and strain out the seeds.
- Grated lemon zest (2 tsp): This is where the intense lemon perfume lives, so zest directly into the pan and avoid the bitter white pith underneath.
- Large egg yolks (3): They add richness and help the filling set into that silky, custard like texture.
- Unsalted butter, softened (2 tbsp, 30 g): Stirred in at the end for a glossy, luxurious finish that coats your spoon.
- Large egg whites (3, for optional meringue): Whipped into clouds for a pillowy topping that toasts up golden in the oven.
- Cream of tartar (1/4 tsp, for meringue): Stabilizes the egg whites so your meringue holds its peaks instead of deflating.
- Granulated sugar for meringue (1/2 cup, 100 g): Added gradually so the meringue becomes smooth and glossy with no graininess.
Instructions
- Prepare the crust:
- Preheat your oven to 350 degrees F (175 degrees C), then toss the graham cracker crumbs, sugar, and melted butter in a bowl until everything looks like damp sand. Press it firmly and evenly into a 9 inch pie pan, making sure to build up the sides, and bake for 8 to 10 minutes until it smells toasty and golden.
- Build the lemon filling:
- In a medium saucepan, whisk together the sugar, cornstarch, and salt until there are no lumps, then pour in the water, lemon juice, and zest. Cook over medium heat, whisking the whole time, until the mixture thickens and starts to bubble, which takes about 6 to 8 minutes and your arm will feel it.
- Temper the egg yolks:
- Whisk the egg yolks in a small bowl, then slowly drizzle in a spoonful of the hot lemon mixture while whisking furiously so the yolks warm up gradually without scrambling. Pour this tempered mixture back into the saucepan and cook for 2 more minutes, stirring constantly, until everything is thick and glossy.
- Finish and fill:
- Take the saucepan off the heat and stir in the softened butter until it melts completely into a silky pool. Pour the filling into your cooled crust and spread it evenly with a spatula.
- Whip the meringue if using:
- In a spotlessly clean bowl, beat the egg whites and cream of tartar with an electric mixer until soft peaks form, then add the sugar gradually while beating until you get stiff, glossy peaks. Spread the meringue over the hot filling, making sure it touches the crust edges all the way around so it does not shrink back while baking.
- Bake and chill:
- Bake the pie for 15 minutes until the meringue peaks turn a lovely golden brown, then let it cool at room temperature for 1 hour before transferring to the refrigerator. Chill for at least 1 hour more so the filling sets properly and slices cleanly.
 Save
Save My niece once told me this pie tasted like summer vacation, and I have never received a better review from an eight year old in my life.
When Life Gives You Lemons
The lemons you choose matter more than you might expect. Meyer lemons will give you a softer, almost floral sweetness, while regular Eureka lemons deliver that sharp, mouth puckering punch most people associate with classic lemon pie. I have used both depending on what was available, and each version is delicious in its own way. Room temperature lemons yield significantly more juice than cold ones, so set them on the counter an hour before you plan to squeeze.
The Meringue Question
You can absolutely skip the meringue and simply let that bright yellow filling shine on its own, which I do on weeknights when I am short on time. If you go that route, a dollop of whipped cream on each slice is a perfectly acceptable substitute. But if you decide to make the meringue, make sure your bowl and whisk are completely free of any grease or fat residue, because even a trace will prevent the egg whites from reaching their full volume. I wipe my bowl with a bit of white vinegar on a paper towel before starting, which has saved me from many flat, weepy meringues.
Getting a Clean Slice
The biggest challenge with this pie is achieving those beautiful, photo worthy slices that hold their shape on the plate. The trick is patience, which is not my strongest quality in the kitchen, but chilling for the full time makes all the difference. I dip a sharp knife in hot water and wipe it clean between each cut for the neatest results.
- Let the pie chill uncovered for the first hour so condensation does not pool on the surface.
- Cover loosely with plastic wrap after it has set, pressing the wrap gently against the surface to prevent a skin from forming.
- This pie is best enjoyed within two days because the crust starts to soften after that.
 Save
Save Some desserts are just dessert, but this one has a way of pulling people into the kitchen to stand around the counter with forks in hand before you even finish slicing. It tastes like someone captured sunshine and put it in a pie plate, and that is really all anyone needs on a warm afternoon.
Recipe FAQs
- → Can I make lemon pie ahead of time?
-
Yes, lemon pie can be prepared a day in advance. Store it covered in the refrigerator. If using meringue topping, serve within 24 hours for the best texture, as meringue may start to weep over time.
- → Why is my lemon filling not thickening?
-
The cornstarch needs continuous whisking over medium heat for 6 to 8 minutes to fully activate. Make sure the mixture reaches a full bubble and becomes visibly thick before tempering the egg yolks. Undercooking is the most common cause of a runny filling.
- → Can I use bottled lemon juice instead of fresh?
-
Freshly squeezed lemon juice delivers the brightest, most natural flavor. Bottled juice works in a pinch but tends to taste slightly duller. The zest, which adds aromatic oils, should always come from fresh lemons.
- → How do I prevent the meringue from weeping?
-
Spread the meringue over the hot filling immediately, sealing it to the crust edges. The residual heat cooks the meringue from underneath and helps prevent moisture separation. Avoid overbeating the egg whites past stiff peaks.
- → Can I use a traditional pie crust instead of graham crackers?
-
A standard blind-baked pie crust works well as a substitute. Pre-bake the crust fully before adding the lemon filling to avoid a soggy bottom. The flavor profile will be less sweet and more buttery.
- → How long should the pie chill before serving?
-
Cool the pie at room temperature for one hour first, then refrigerate for at least one additional hour. For the cleanest slices, chill for two hours or more. This allows the filling to fully set.
