 Save
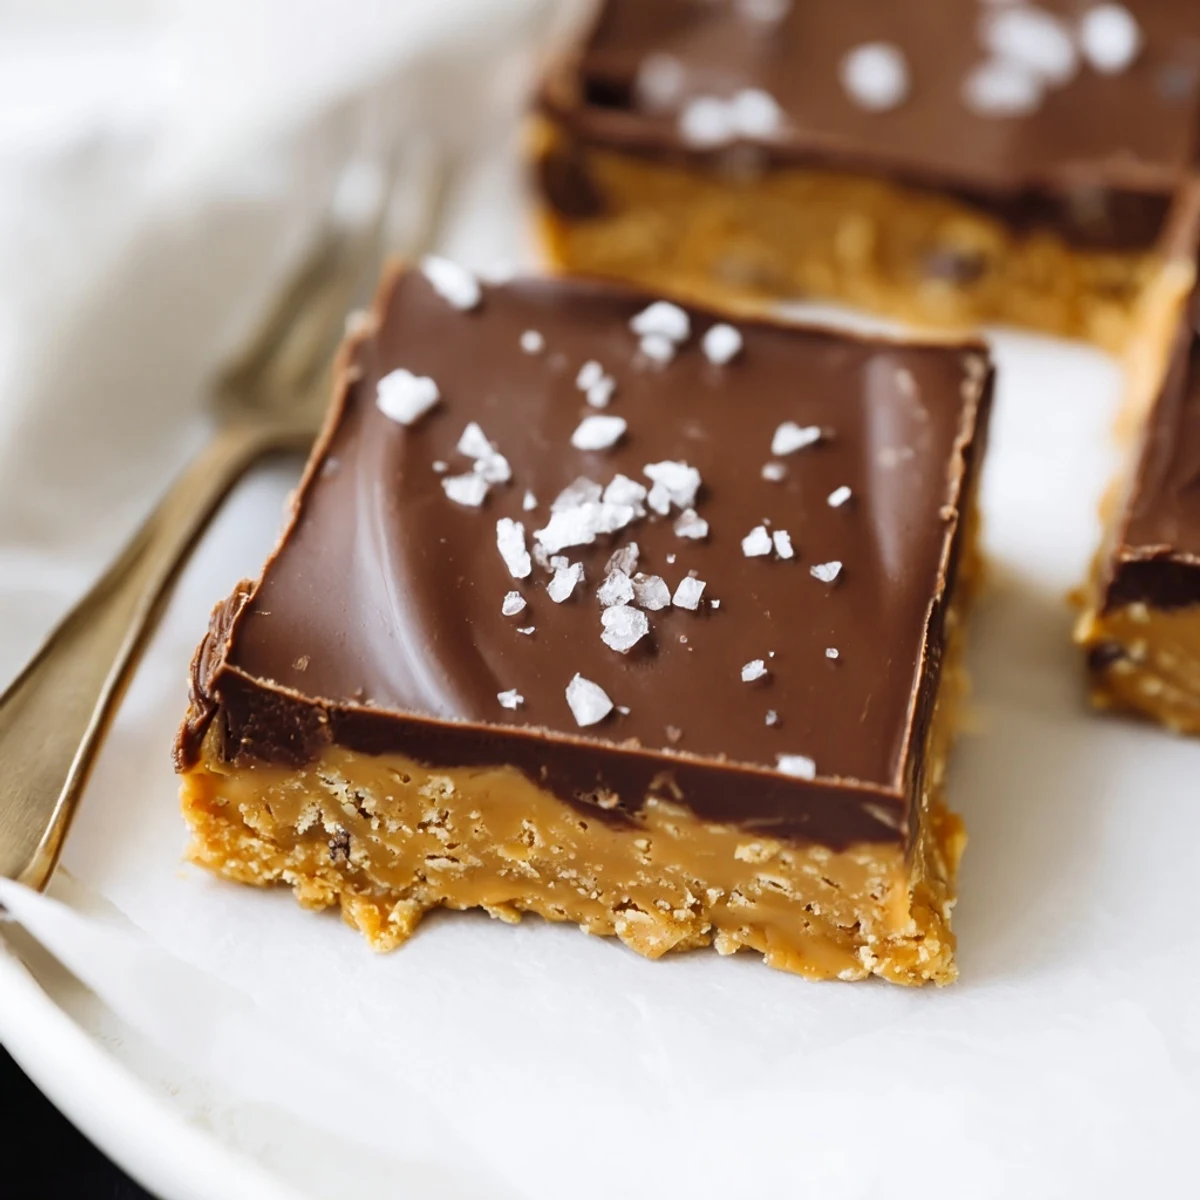
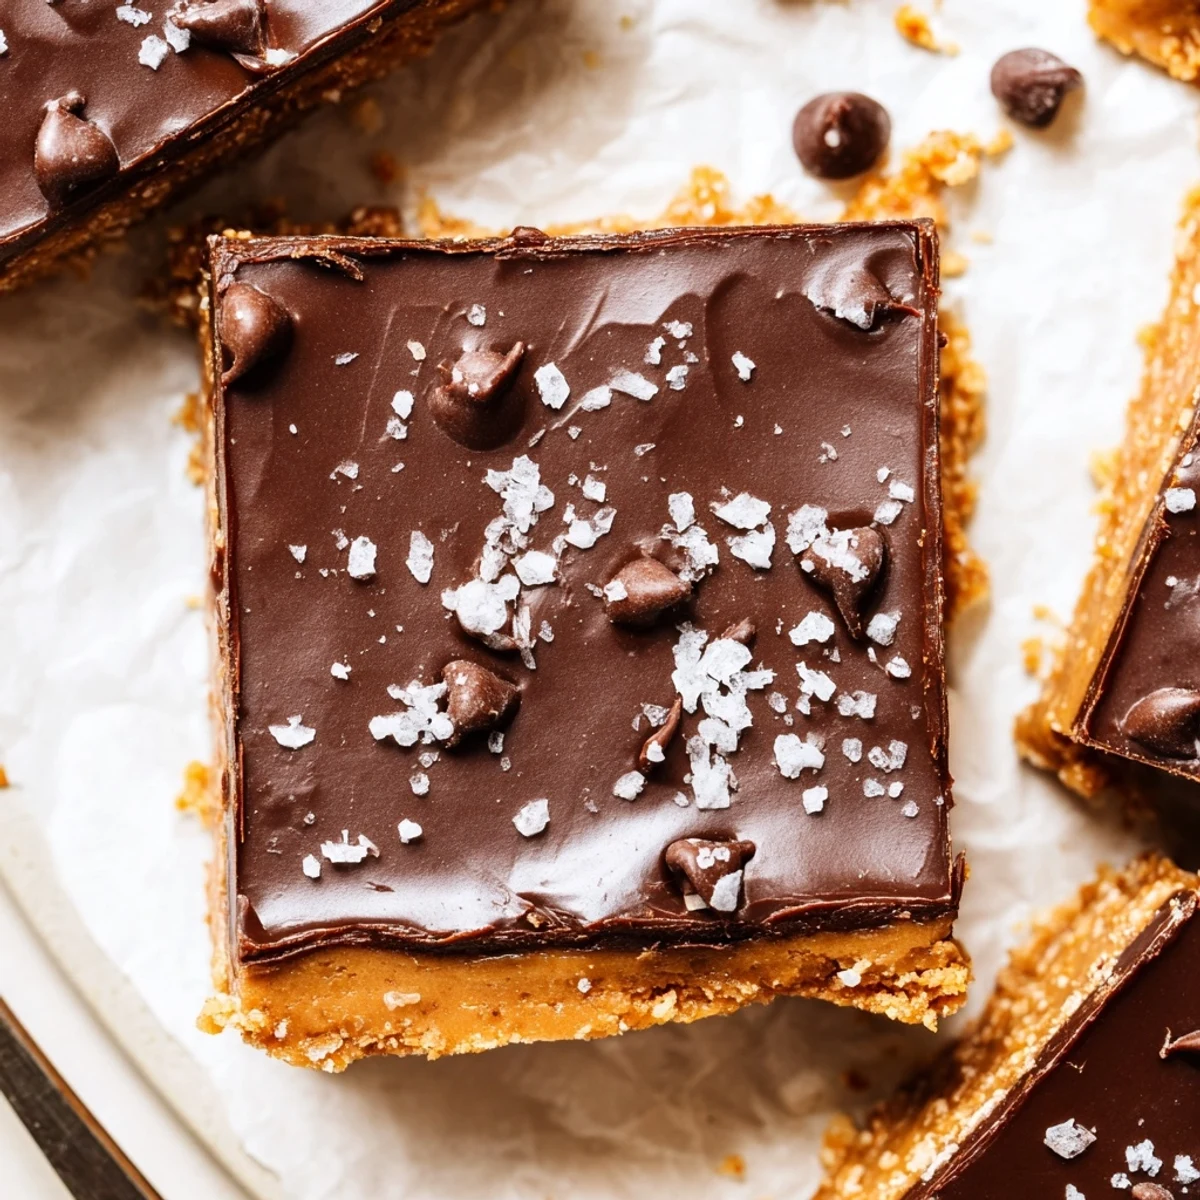
Save These no-bake peanut butter bars combine a dense peanut butter, butter and graham cracker base with a glossy chocolate-peanut butter topping. Mix melted butter and peanut butter with powdered sugar and crumbs, press into an 8x8 pan, melt chocolate with a bit of peanut butter for shine, pour on top, then chill at least 2 hours. Yields 16 bars; store chilled up to 1 week.
Every time I whip up these no bake peanut butter bars, my kitchen fills with the warm scent of melted butter and peanut butter, making it hard not to sneak a taste from the bowl. These bars first popped into my life on a sweltering afternoon when the thought of turning on the oven was simply unbearable, and they've been my go-to 'quick dessert fix' ever since. The way the chocolate sets with a perfect snap over the creamy base always feels a bit magical. No need for special occasions, just a craving and 20 spare minutes.
I once brought these to a neighborhood block party, and the pan was empty before the main dishes were on the table—someone even asked if I would trade the recipe for her famous dip. Building memories over food like that never gets old, and now I always make a double batch for gatherings. Watching people light up when they bite into these is as sweet as the treat itself.
Ingredients
- Creamy peanut butter: The soul of these bars—I've tried every brand, but smooth and salty varieties blend best, making the base extra luscious.
- Unsalted butter, melted: Softens the edges of peanut butter's flavor, and sifting in while warm helps everything combine smoothly and without lumps.
- Powdered sugar: Gives silky sweetness and structure, so your bars set up just right—always sift for lump-free joy.
- Graham cracker crumbs: Adds a tiny crunch and some grown-up flavor; I crush mine in a bag with a rolling pin to avoid dusty messes.
- Vanilla extract: Brightens and rounds out the peanut flavor—don't skip, even though it's subtle.
- Semi-sweet chocolate chips: Melts into a glossy topping; I like to use mini chips for quicker melting.
- Extra creamy peanut butter (for topping): Swirls smoothly into chocolate for a softer, sliceable finish.
Instructions
- Prepare your pan:
- Line an 8x8 inch pan with parchment, letting the paper hang over the sides—it’ll make lifting the bars out a breeze and saves on cleanup.
- Mix the peanut butter base:
- Stir melted butter and one cup of peanut butter in a big bowl until glossy; the aroma alone is worth pausing for.
- Stir in dry ingredients:
- Add in the powdered sugar, graham crumbs, and vanilla—use a spatula to fold everything until a thick dough forms. Sometimes little hands help with this step in my kitchen.
- Press and smooth:
- Transfer the dough to your lined pan and use the spatula (or your hands, no shame) to press it down firmly and create an even layer.
- Melt the topping:
- In a microwave or on the stovetop, gently heat chocolate chips and 1/4 cup peanut butter in short bursts, stirring often, until completely melted and shiny.
- Spread and chill:
- Pour that gorgeous chocolate-peanut butter over the base, smoothing to every corner, then refrigerate for at least 2 hours until firm.
- Slice and serve:
- Lift out using the parchment, slice into squares—run a knife under hot water for cleaner cuts—and enjoy every rich bite.
 Save
Save The first time I made these with my niece, we both ended up with chocolate on our faces and laughter echoing in the kitchen; it was messier than planned, but no one cared. Suddenly, these bars were about more than dessert; they were about sharing sticky fingers and big smiles together.
Making the Topping Just Right
Melting the chocolate and peanut butter together is where the magic really happens—the mix gets so silky and fragrant. I learned to microwave in short bursts and stir well to avoid scorching the chocolate, which keeps the topping glossy and pourable. Sometimes I add an extra tablespoon of peanut butter for a creamier finish if I’m in the mood for something a little softer.
Switch It Up
If I’m feeling adventurous, I’ll toss in a handful of chopped roasted peanuts to the base, and once tried a layer of crushed pretzels on top, which brought a lovely salty crunch. Substituting the graham crackers for digestive biscuits or gluten-free cookies has worked wonders for friends with dietary needs. Even a dollop of raspberry jam swirled into the chocolate topping made for a fun, fruity surprise.
Storing and Serving
These bars last surprisingly well in the fridge and are always a welcome treat tucked into a lunchbox or shared at a picnic. They’ll keep their texture for a week as long as they’re sealed in an airtight container. You can even freeze individual bars for longer storage if self-control is an issue.
- Bring to room temperature for 10 minutes before slicing for clean edges.
- If serving to a crowd, cut smaller squares for bite-sized treats.
- Don't hesitate to double the recipe—you'll wish you had more.
 Save
Save Whether you need a dessert to impress or just something sweet for yourself, these bars never disappoint. Share them, stash them, or sneak a piece before breakfast—I won't tell.
Recipe FAQs
- → How should I melt the chocolate topping?
-
Melt chocolate in 30-second microwave bursts, stirring between intervals until smooth, or use a double boiler. Stir in the 1/4 cup peanut butter while warm to create a glossy, spreadable topping.
- → Can I use crunchy peanut butter instead of creamy?
-
Yes—chunky peanut butter adds extra texture. You can also fold in chopped roasted peanuts into the base for more crunch without changing measurements.
- → What can I substitute for graham cracker crumbs?
-
Use digestive biscuits, shortbread, or gluten-free cookie crumbs to suit dietary needs. Pulse until fine crumbs for an even base that presses together well.
- → How can I speed up the chilling time?
-
Place the pan in the coldest part of the fridge or briefly in the freezer (15-25 minutes) to set the topping faster, but avoid freezing solid to preserve texture.
- → How long do the bars keep and how should I store them?
-
Store bars in an airtight container in the refrigerator for up to 1 week. Separate layers with parchment to prevent sticking and bring to room temperature a few minutes before serving for softer slices.
- → Can these bars be frozen?
-
Yes—wrap individual bars tightly in plastic and place in a freezer-safe container for up to 2 months. Thaw overnight in the refrigerator to maintain texture before serving.
