 Save
Save These tender treats feature a rich buttery base with just the right amount of sweetness. The dough comes together quickly and bakes in mere minutes, resulting in cookies that literally melt on your tongue. Perfect alongside afternoon tea or piled high on holiday platters, these classic delights stay fresh for days when stored properly.
The butter wrapper from my grandmother's cookie sessions still haunts me in the best way possible. She'd save every single one in a designated margarine tub in the refrigerator, proof of a lifetime spent baking these tender shortbread-style rounds. When I finally recreated the recipe myself, the sheer amount of butter made me pause—and then I understood exactly why her cookies dissolved like sugar clouds on the tongue.
My apartment neighbor once knocked on my door during my first solo attempt, convinced someone was running a bakery. The vanilla alone had drifted down the hallway and wrapped around the entire floor. I ended up sharing half the batch just to apologize for the olfactory interruption.
Ingredients
- 2 1/4 cups (280 g) all-purpose flour: The foundation that keeps these cookies tender without becoming tough or dry.
- 1/2 teaspoon sea salt: Just enough to wake up your taste buds without announcing its presence.
- 1 cup (225 g) unsalted butter at room temperature: The absolute star of the show, softened until it yields to gentle pressure.
- 3/4 cup (150 g) granulated sugar: Sweetens while letting that butter flavor shine through unchallenged.
- 1 large egg yolk: Adds richness and helps create that signature melt-in-your-mouth texture.
- 2 teaspoons pure vanilla extract: Do not skimp here because this is what makes everyone ask what your secret ingredient is.
- 1/4 cup (30 g) powdered sugar for dusting: Optional but highly recommended for that bakery finish that makes cookies look utterly irresistible.
Instructions
- Prepare your kitchen:
- Preheat your oven to 350°F (180°C) and line two baking sheets with parchment paper so nothing stands between you and hot cookies.
- Whisk the dry foundation:
- In a medium bowl, combine the flour and salt until they're uniformly blended and ready to welcome the butter.
- Create the buttery base:
- Beat the butter and granulated sugar together in a large bowl until the mixture turns pale and fluffy, about 3 minutes of serious mixing.
- Add the yolk and vanilla:
- Pour in the egg yolk and vanilla extract, then mix until everything is fully incorporated and smelling like heaven.
- Bring the dough together:
- Gradually add the flour mixture to the wet ingredients, mixing just until the dough forms a cohesive ball without overworking it.
- Shape the cookies:
- Roll tablespoonfuls of dough into balls and place them 2 inches apart on your prepared baking sheets, giving them room to spread slightly.
- Add the signature mark:
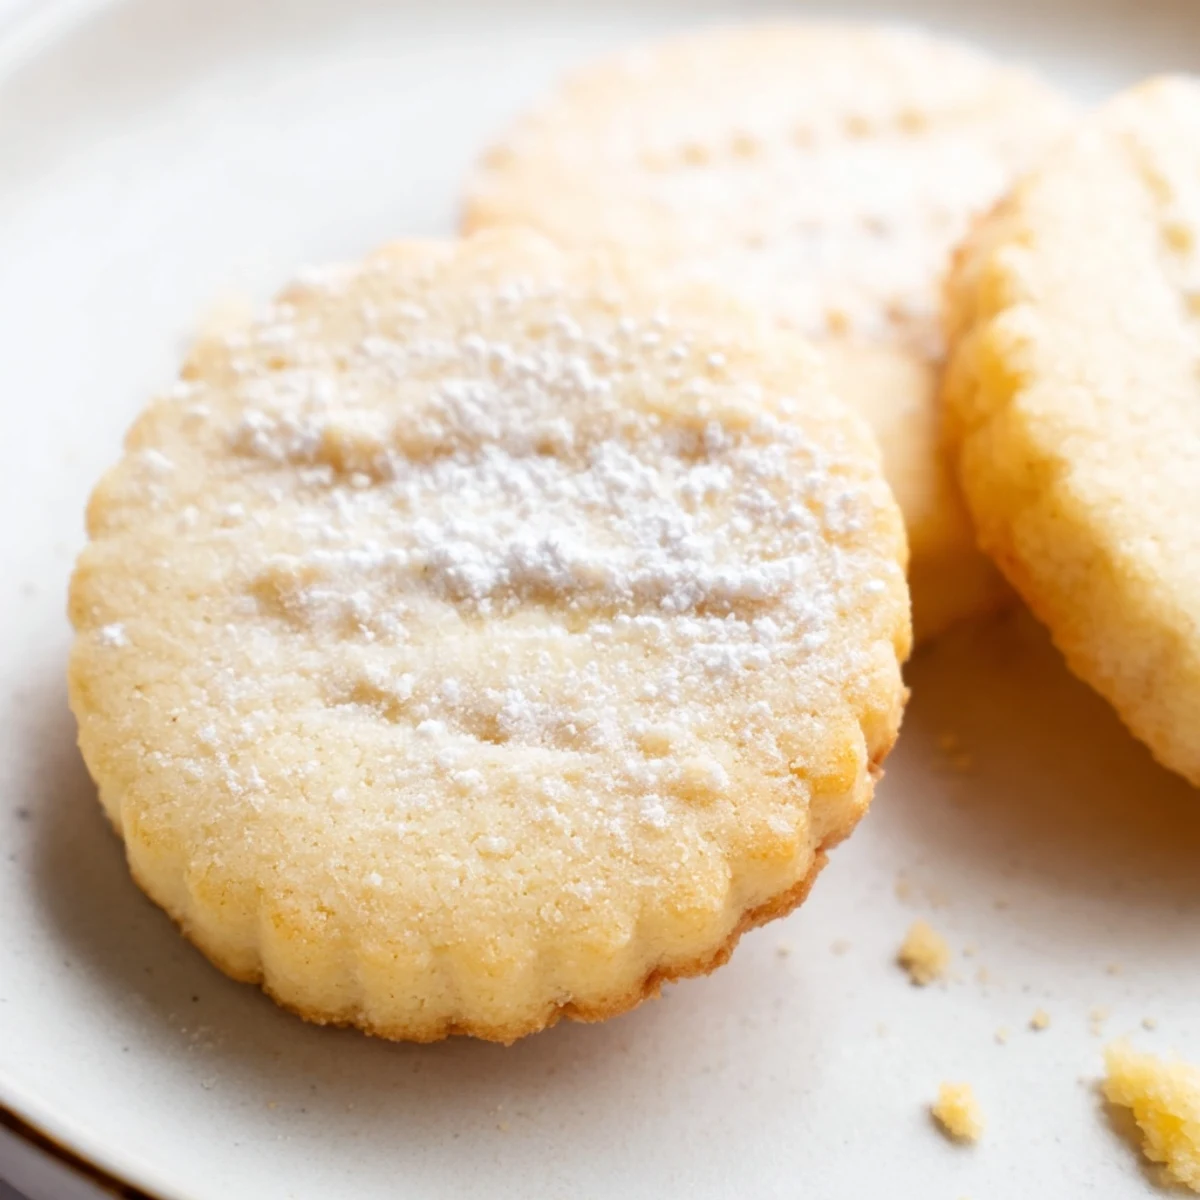
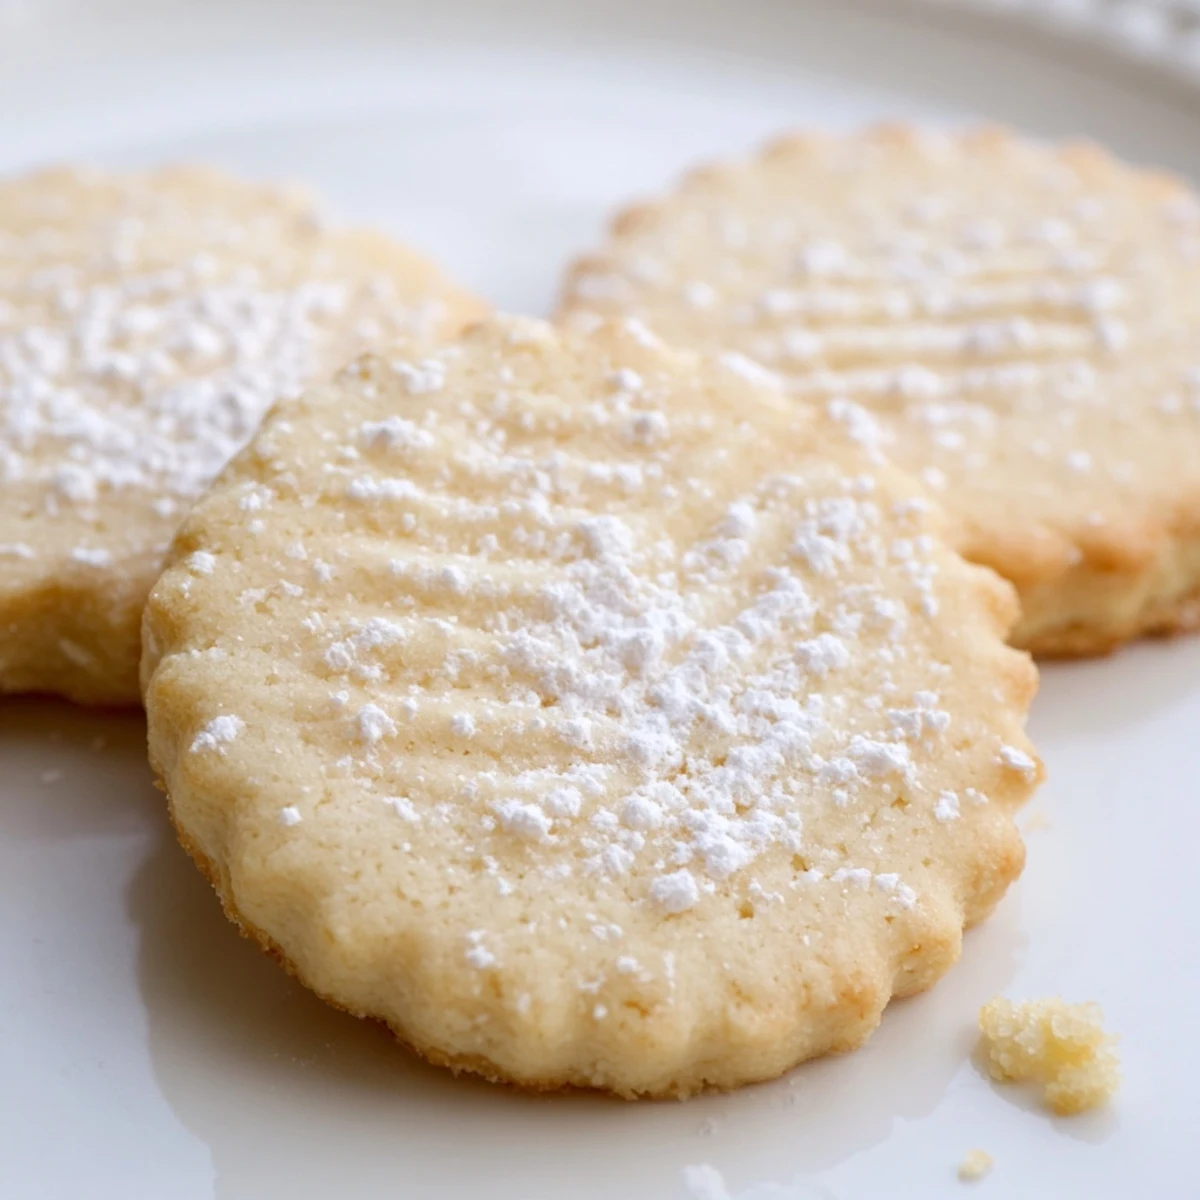
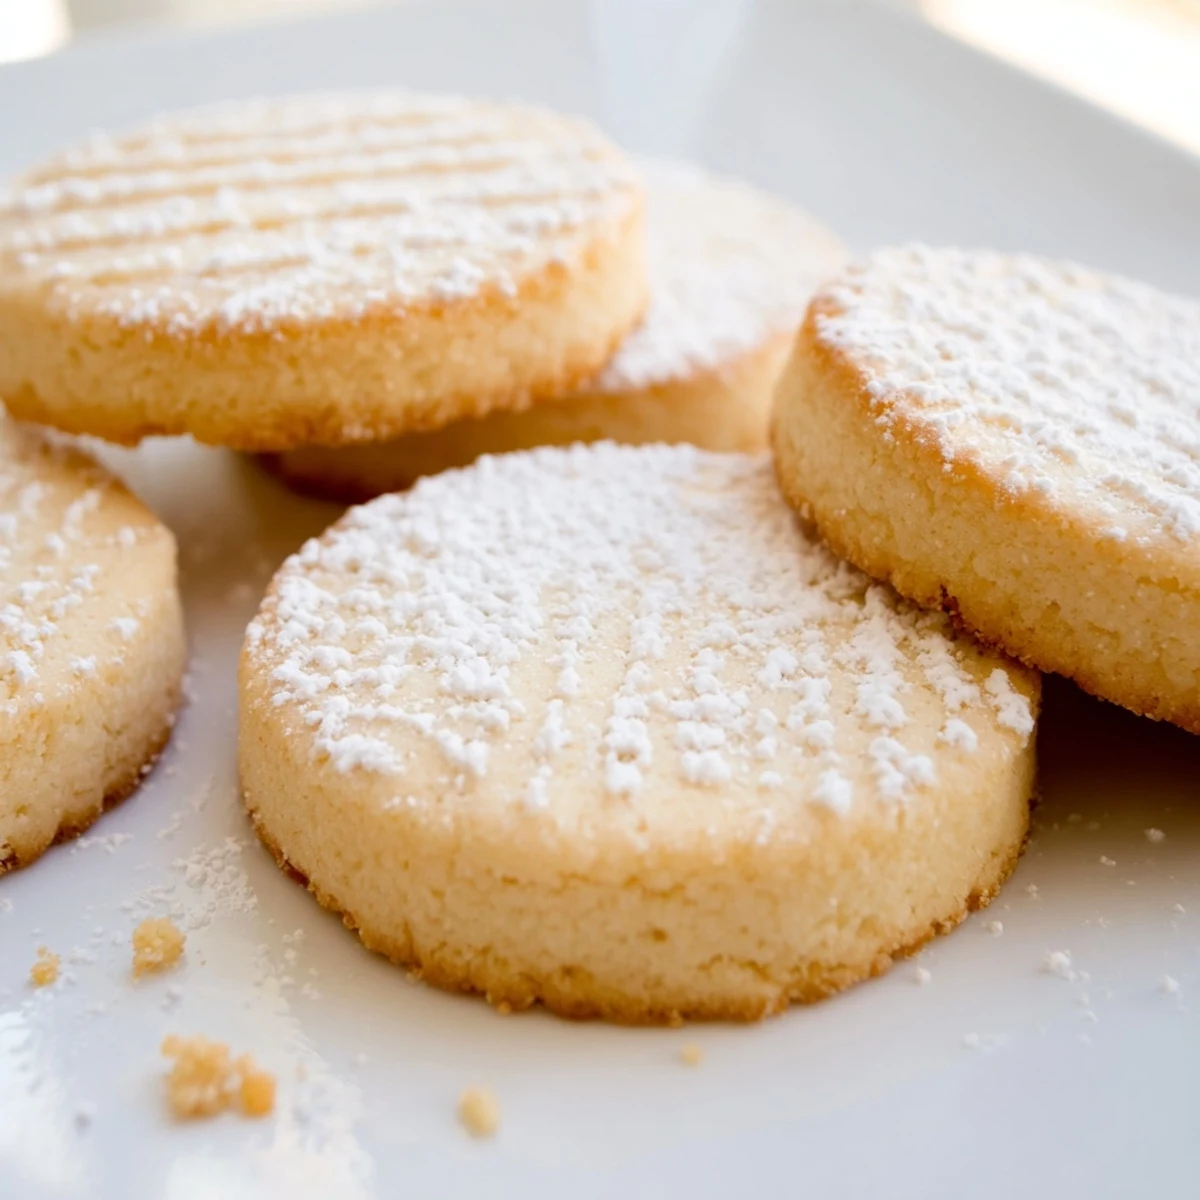
- Gently press each ball with the tines of a fork or the bottom of a glass to flatten slightly, creating those classic ridges.
- Bake to perfection:
- Bake for 10-12 minutes until the edges are just turning golden, because these transform from underdone to overbaked in the blink of an eye.
- Cool completely:
- Let the cookies rest on the baking sheet for 5 minutes before transferring them to a wire rack to cool completely and develop their full texture.
- Add the final touch:
- Dust the cooled cookies lightly with powdered sugar if you want that extra snow-kissed sweetness that makes them disappear faster.
 Save
Save My father started hiding half the batch immediately after they cooled because otherwise they would vanish within hours. The grandkids now call them Grandpa Stash Cookies.
Butter Temperature Matters
The difference between properly softened butter and slightly cold butter is the difference between ethereal cookies and disappointingly dense ones. Press your finger into the butter block and it should leave a clean indentation without feeling greasy or melting.
The Fork Press Technique
Dip your fork in flour between each press to prevent sticking and create those professional looking ridges. Rotate the fork 90 degrees between presses for that classic crosshatch pattern.
Storage And Sharing Strategy
These cookies actually improve after sitting for a day, developing a more complex flavor profile as the butter and vanilla deepen their friendship.
- Store between layers of wax paper in an airtight container at room temperature.
- They freeze beautifully if you can resist eating them all first.
- Consider doubling the recipe because one batch is never enough.
 Save
Save May your kitchen always smell like vanilla and butter, and may there always be at least one cookie hidden away for later.
Recipe FAQs
- → Why do my cookies turn out hard instead of tender?
-
Overbaking is the most common cause. Remove them from the oven when edges are just barely golden. They continue firming up while cooling on the baking sheet.
- → Can I chill the dough before baking?
-
Yes, chilling for 30 minutes helps prevent spreading and creates a more tender texture. Wrap dough tightly and let it come to room temperature slightly before rolling.
- → What's the purpose of the egg yolk?
-
The yolk adds richness and creates that signature melt-in-your-mouth texture. Using only yolk (not whole egg) produces a more tender, delicate crumb.
- → How should I store these for maximum freshness?
-
Keep in an airtight container at room temperature for up to a week. Place parchment paper between layers to prevent sticking. They actually improve in flavor after a day.
- → Can I freeze the dough or baked cookies?
-
Both freeze beautifully. Scoop dough balls onto a tray, freeze until firm, then transfer to bags. Bake from frozen adding 1-2 minutes. Baked cookies freeze well for 3 months.
- → Why use room temperature butter?
-
Cold butter won't cream properly with sugar, affecting texture. Room temperature butter creates air pockets when beaten, leading to lighter, more tender results.
