
 Save
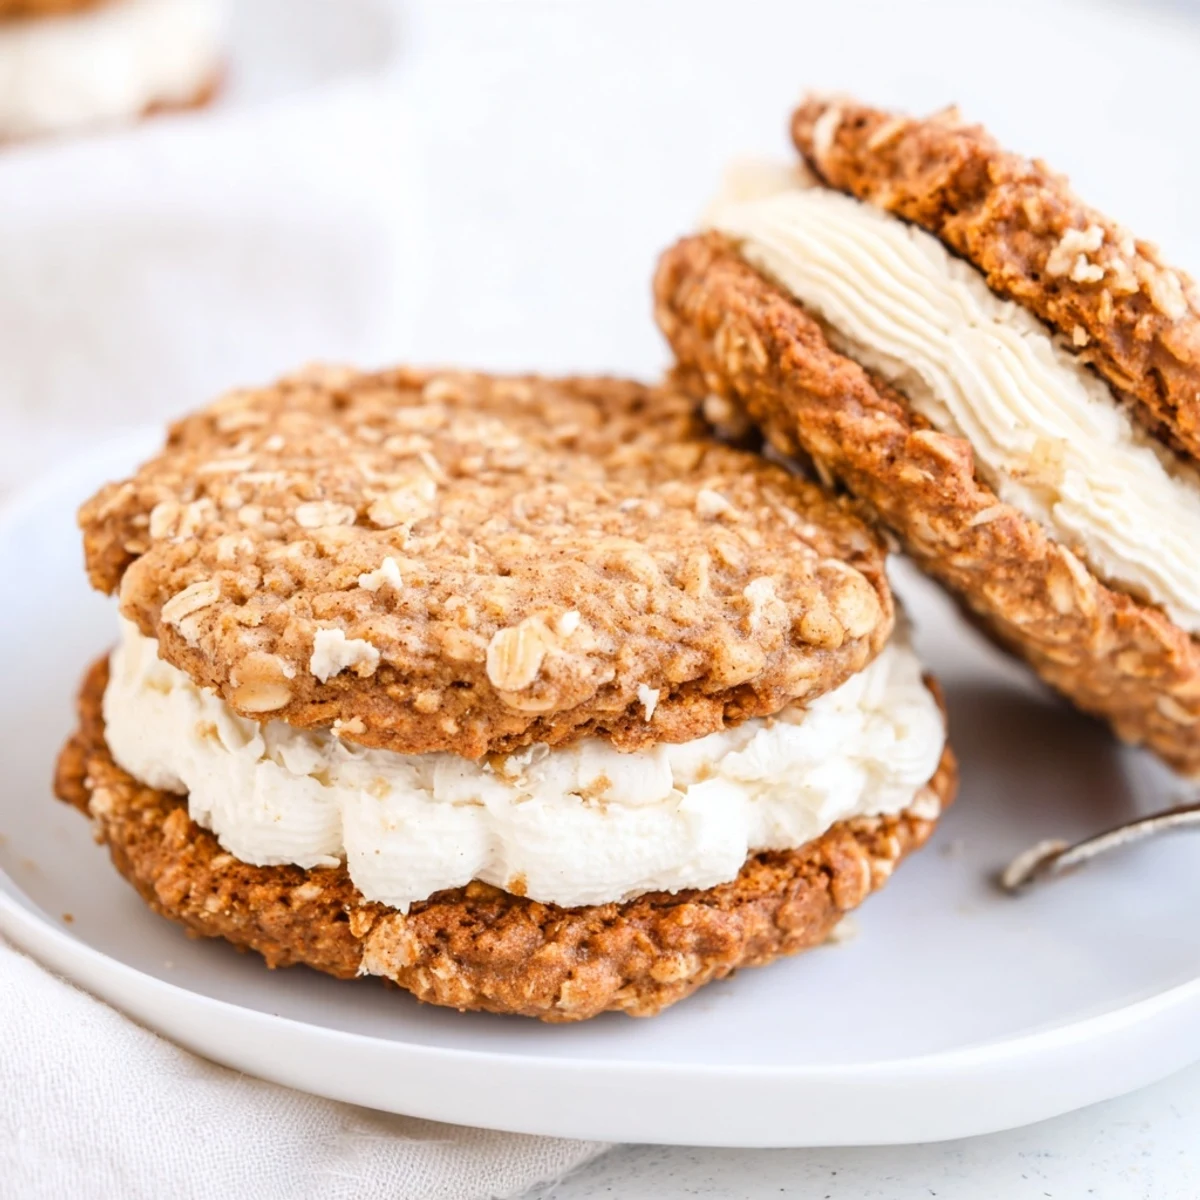
Save Soft, chewy gluten-free oatmeal cookies bake golden at 180°C, then are sandwiched with a silky vanilla creme. Rolled oats and a gluten-free flour blend lend hearty texture while coconut sugar brings caramel warmth. Try dairy-free butter and milk alternatives, chill the filling for a firmer center, and store sealed to preserve chewiness.
The grocery store by my old apartment had a clearance shelf near the bakery, and one rainy Thursday I found a pack of gluten free oatmeal creme pies marked down to nothing. I bought them, tore one open in the parking lot, and sat there wondering why something so nostalgic could taste so disappointing. That week I set out to build a better version from scratch, something with real chew and a filling that actually tasted like vanilla instead of sugar dust. Ten batches later, this recipe finally made me forget the store bought ones ever existed.
My neighbor Marcus stopped by while I was photographing a batch, and he ate four of them standing at my kitchen counter without saying a word. He just pointed at the plate and gave me a thumbs up, crumbs falling everywhere, and I knew the recipe was done.
Ingredients
- Gluten free old fashioned rolled oats (100 g): These are the backbone of every good oatmeal cookie, and you absolutely must check the label for certified gluten free since cross contamination at processing plants is common.
- Gluten free all purpose flour blend (90 g): A good blend with xanthan gum already included saves you from gummy or crumbly cookies, and I learned this after ruining three batches with the wrong flour.
- Coconut sugar or light brown sugar (70 g): Coconut sugar gives a deeper caramel note, but brown sugar works beautifully if that is what your pantry offers.
- Granulated sugar (70 g): The white sugar helps the edges crisp while the brown sugar keeps the center chewy, and you need both for the right balance.
- Baking soda (1/2 tsp): This gives the cookies just enough lift without making them cakey.
- Baking powder (1/2 tsp): A small amount works with the soda to create a soft, tender crumb.
- Ground cinnamon (1/4 tsp): Just a whisper of cinnamon makes the oat flavor warmer without turning these into snickerdoodles.
- Fine sea salt (1/2 tsp for cookies plus a pinch for filling): Salt is what makes sweetness interesting, and I always taste a pinch of the dough to check the balance before baking.
- Unsalted butter, softened (115 g for cookies, 100 g for filling): Room temperature butter creams properly and incorporates air, so pull it out an hour ahead or you will regret it.
- Large egg (1): One egg binds everything together without making the dough wet.
- Pure vanilla extract (1 tsp for cookies, 1 tsp for filling): Use the real stuff here because the filling in particular relies on vanilla as its primary flavor.
- Powdered sugar, sifted (120 g): Sifting is non negotiable unless you enjoy tiny lumps in your smooth creme.
- Heavy cream or milk (2 tbsp): This thins the filling to a spreadable consistency, and cream makes it richer while milk keeps it lighter.
Instructions
- Preheat and prepare:
- Set your oven to 180 degrees Celsius (350 degrees Fahrenheit) and line two baking sheets with parchment paper so nothing sticks.
- Whisk the dry:
- In a medium bowl, whisk together the oats, gluten free flour, baking soda, baking powder, cinnamon, and salt until evenly distributed.
- Cream the base:
- In a large bowl, beat the softened butter with both sugars until the mixture looks pale and fluffy, then add the egg and vanilla and beat until everything is combined.
- Bring it together:
- Gradually pour the dry ingredients into the wet mixture and stir gently until just incorporated, stopping before you overwork the dough.
- Scoop and space:
- Drop rounded tablespoons of dough onto your prepared sheets, leaving about five centimeters (two inches) between each one so they have room to spread.
- Bake until golden:
- Bake for 10 to 12 minutes until the edges are set and lightly golden, then let them rest on the sheet for five minutes before moving to a wire rack to cool completely.
- Make the creme:
- Beat the butter and powdered sugar together until light and fluffy, then mix in the cream, vanilla, and a pinch of salt until you have a silky smooth filling.
- Assemble the pies:
- Spread or pipe a generous layer of creme onto the flat side of one cooled cookie, then sandwich a second cookie on top and press gently so the filling reaches the edges.
 Save
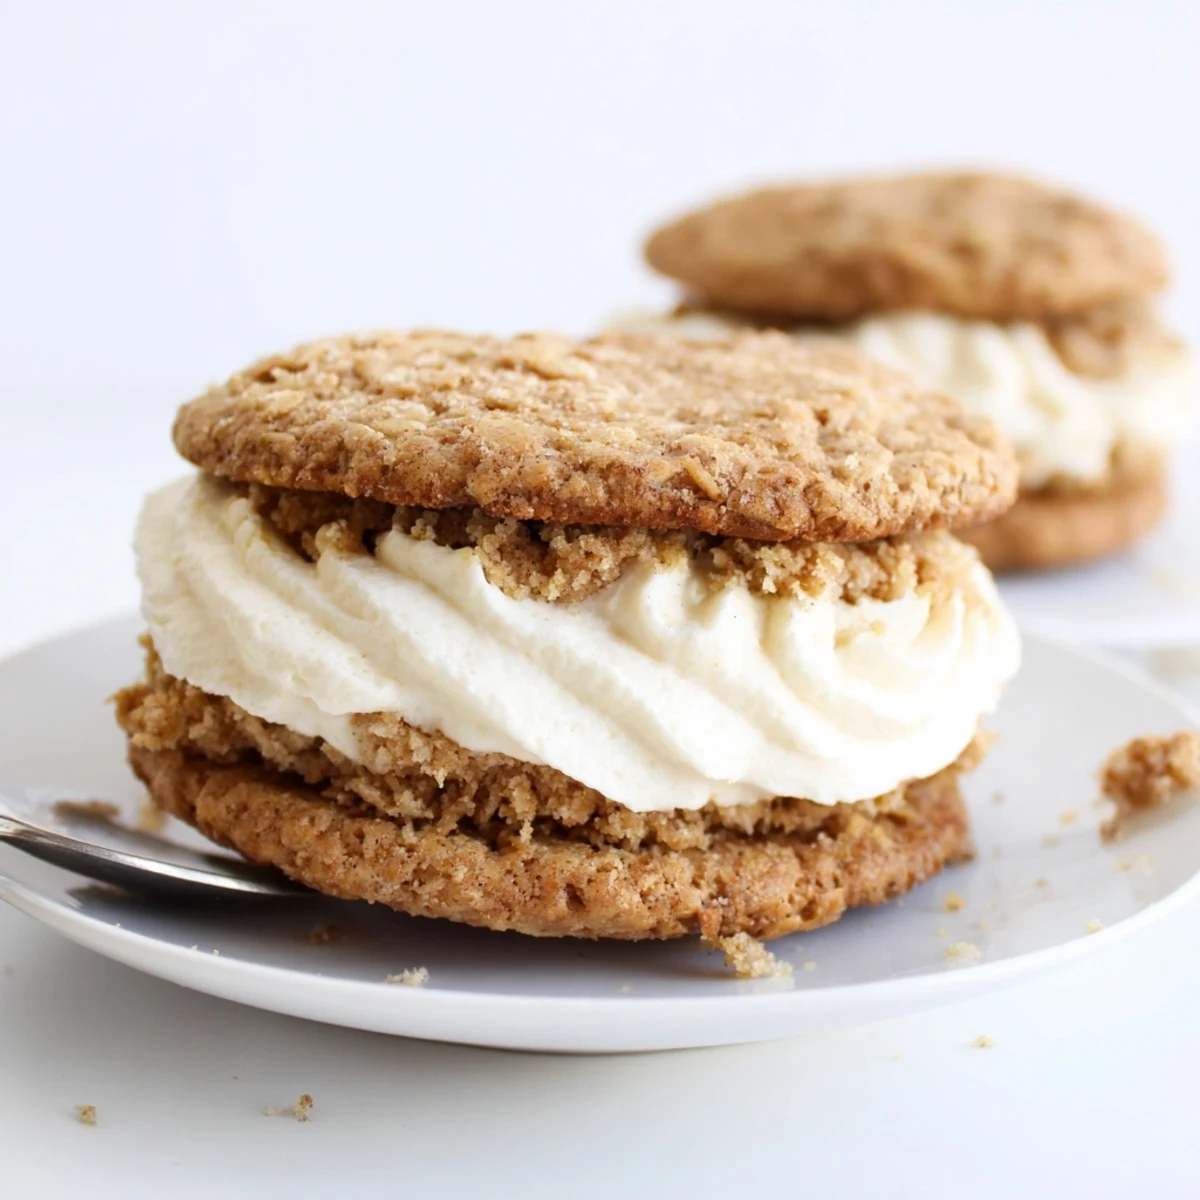
Save I packed these in a tin for a road trip last summer, and by the time we reached the coast they had softened into something almost gooey and even better than fresh from the oven.
Making Them Dairy Free
Swap the butter for a good quality plant based stick butter and use oat milk or coconut cream instead of dairy, and the results are nearly identical. The key is choosing a vegan butter with a high fat content because low fat versions make the cookies spread too thin and the filling too runny.
Storage That Keeps Them Soft
These stay beautifully soft in an airtight container at room temperature for up to two days, and refrigerated they last about a week. If you want to freeze them, wrap each pie individually in plastic wrap before placing in a freezer bag, and they will keep for a month.
Serving Suggestions and Final Thoughts
The best way to eat these is slightly chilled with a cup of coffee or a cold glass of milk, and honestly they disappear fast no matter how you serve them.
- Try warming one for eight seconds in the microwave if you want the filling to go soft and gooey.
- A pinch of nutmeg in the cookie dough adds a subtle warmth that pairs especially well with the vanilla creme.
- Always double check that your oats and flour are certified gluten free because labels can be sneaky.
 Save
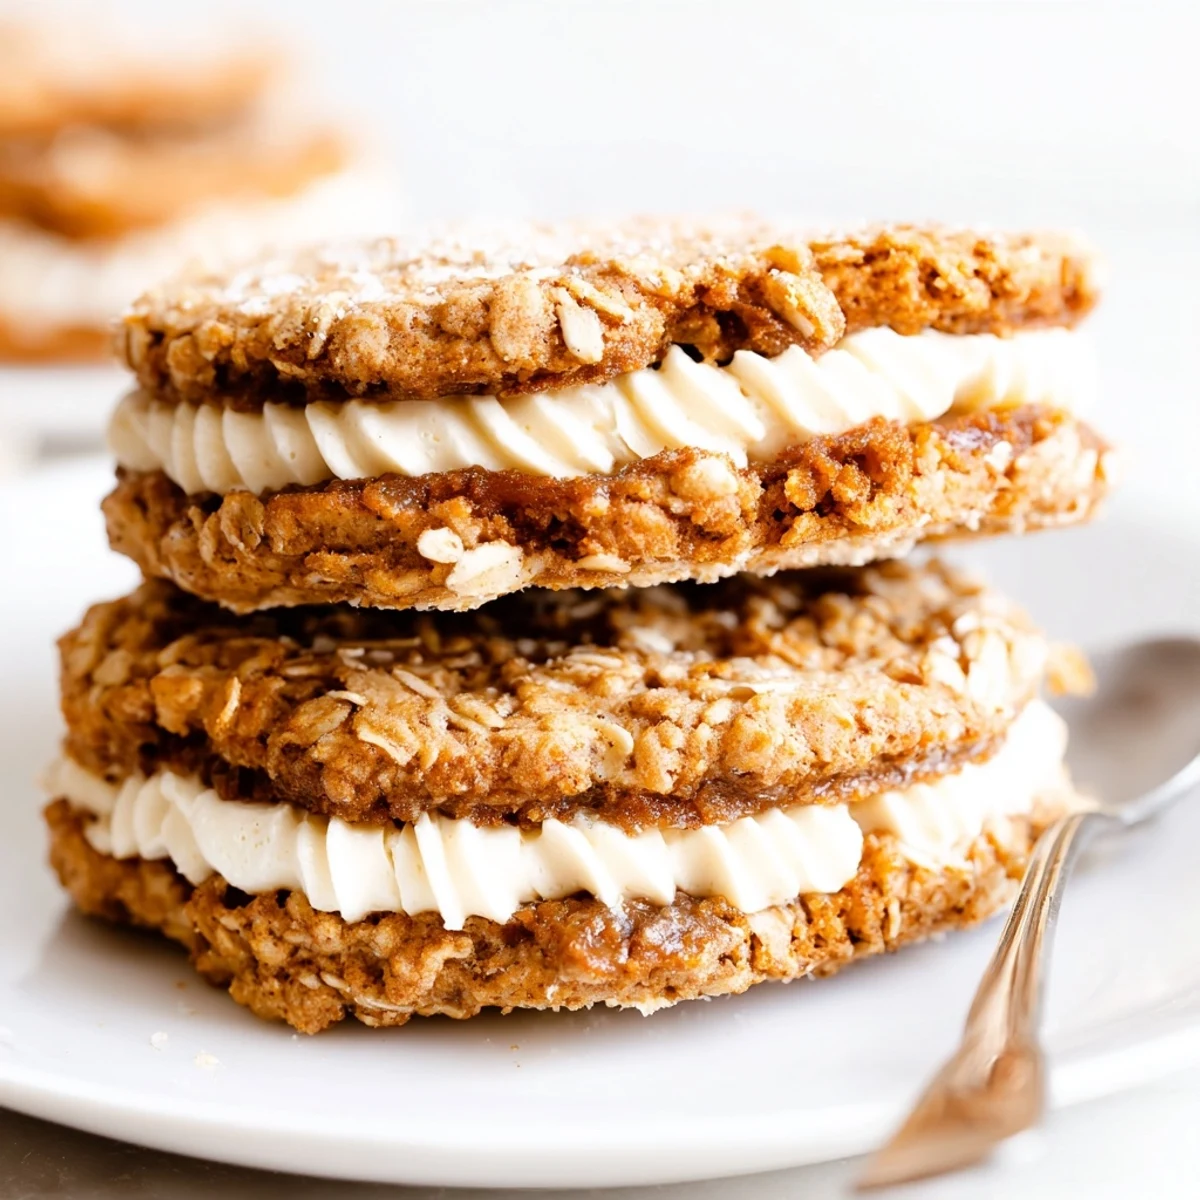
Save These little sandwich pies are proof that gluten free baking can be every bit as indulgent and satisfying as the classics we grew up loving. Share them generously, because holding out on people this good is just wrong.
Recipe FAQs
- → Can I make these dairy-free?
-
Yes. Use plant-based butter and a nondairy milk for the filling; chill slightly longer for a firmer set since some dairy-free spreads soften more at room temperature.
- → How do I keep the creme from being too soft?
-
Reduce the added cream or milk slightly and chill the filling for 10–15 minutes before assembling. Increasing sifted powdered sugar by a tablespoon or two will also stiffen the filling.
- → Are old-fashioned rolled oats required?
-
Old-fashioned rolled oats give a chewier, more textured cookie. Quick oats can be used but the texture will be finer and the cookies slightly less hearty.
- → How should I store the sandwiches?
-
Store in an airtight container at room temperature for up to 2 days, or refrigerate for up to a week. Bring to room temperature briefly before serving for best chew and flavor.
- → How can I prevent the cookies from spreading too much?
-
Chill the dough for 15–20 minutes before scooping if your kitchen is warm, use uniform tablespoon-sized scoops, and avoid overcreaming the butter and sugars to limit excess spread.
- → What flavor variations work well?
-
Add a pinch of nutmeg or swap some oats for quick oats for texture. Fold in mini chocolate chips or a touch of maple extract into the filling for different nostalgic notes.
