 Save
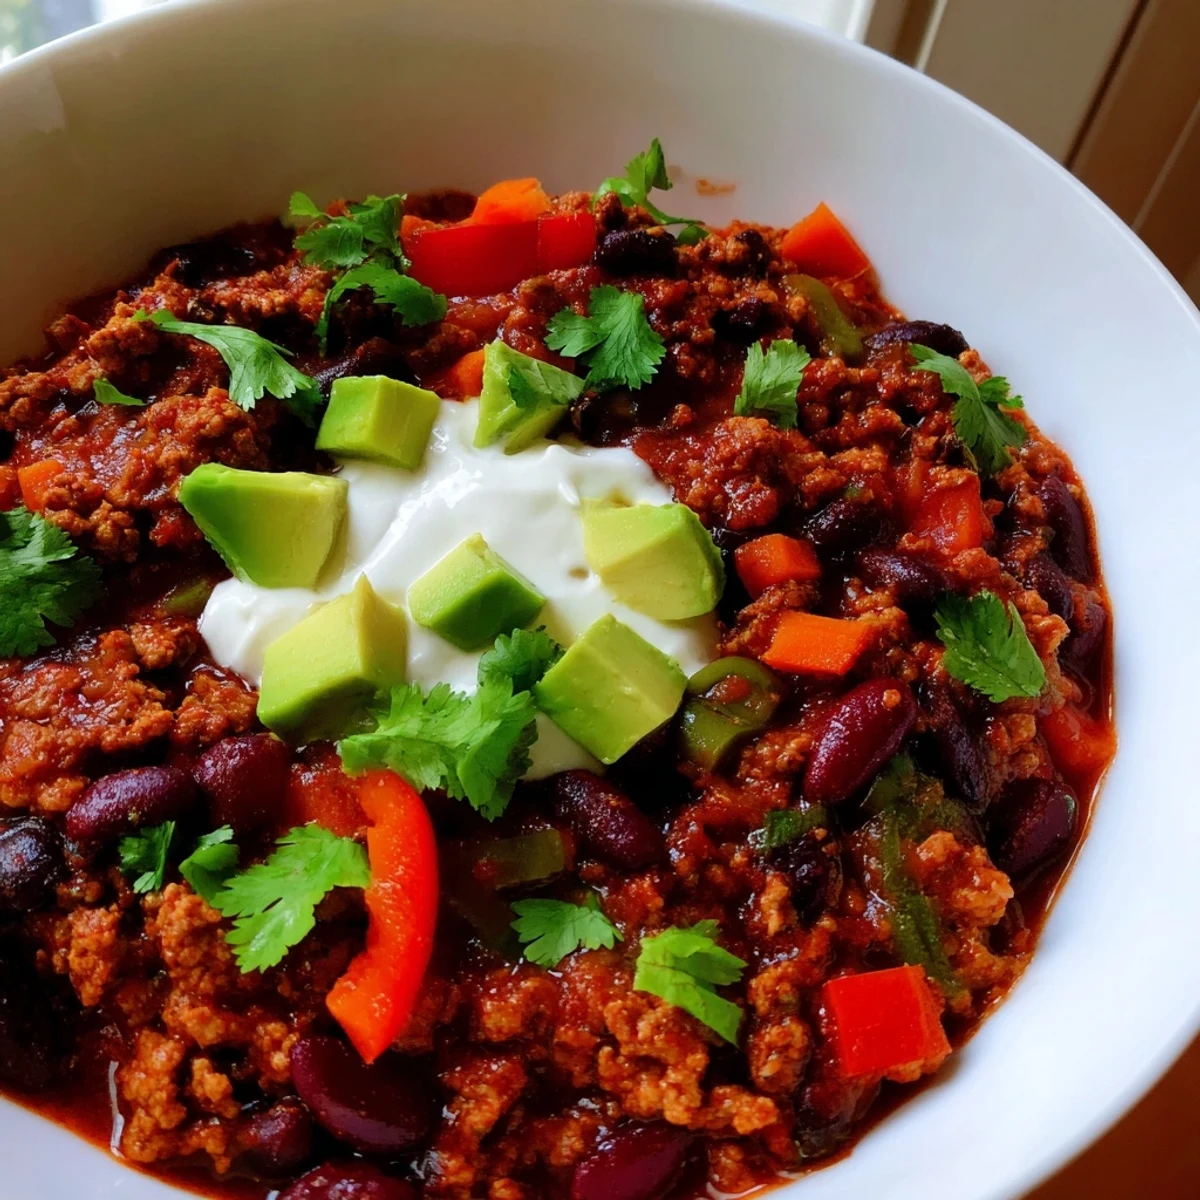
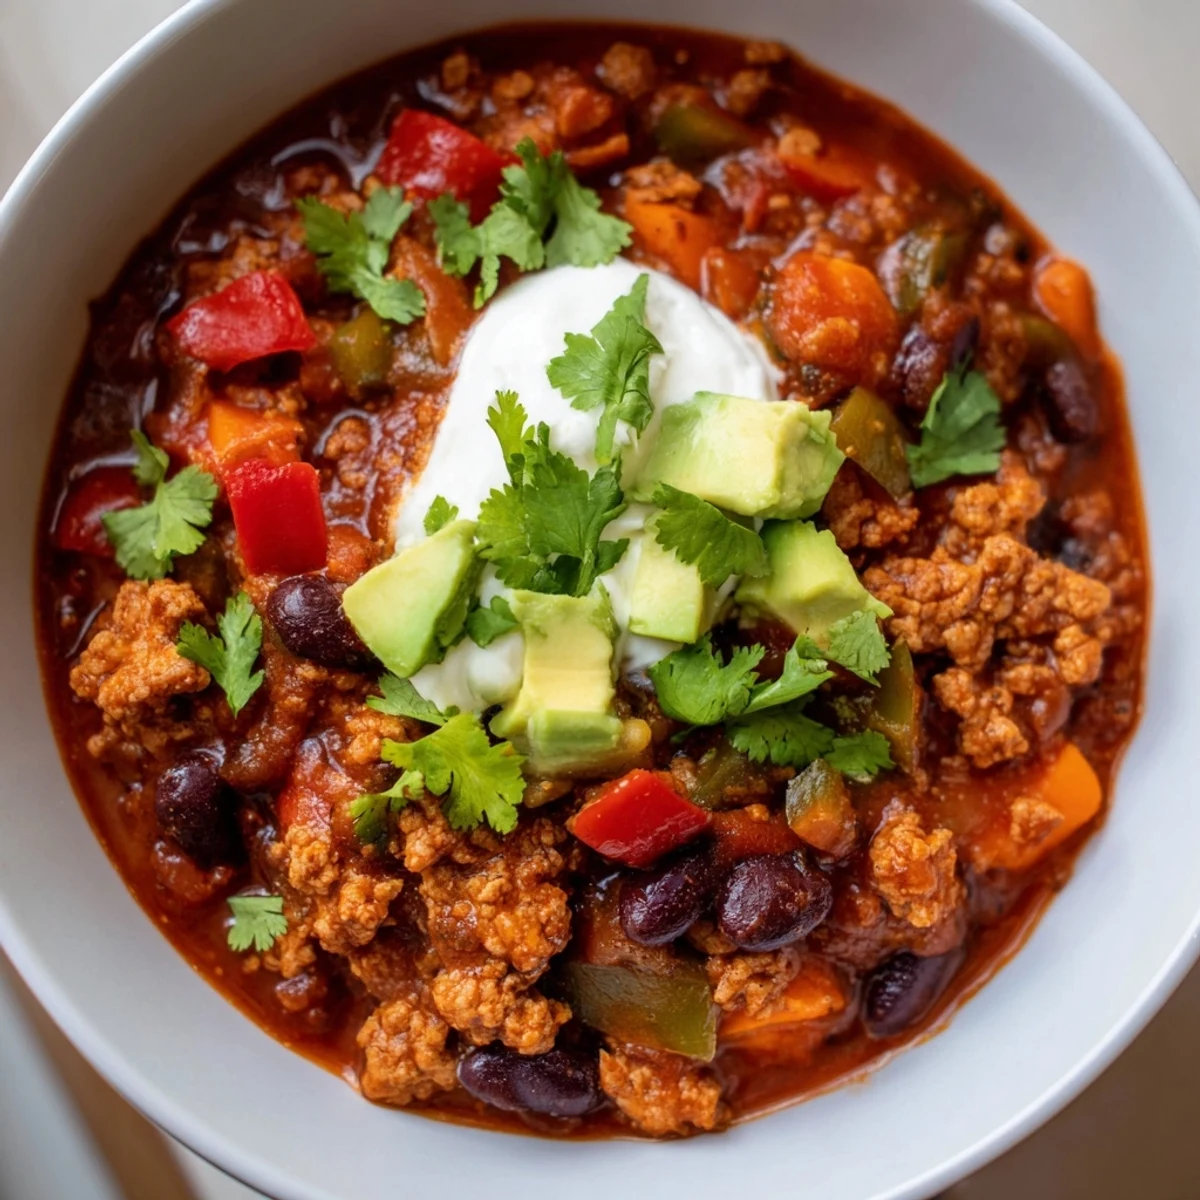
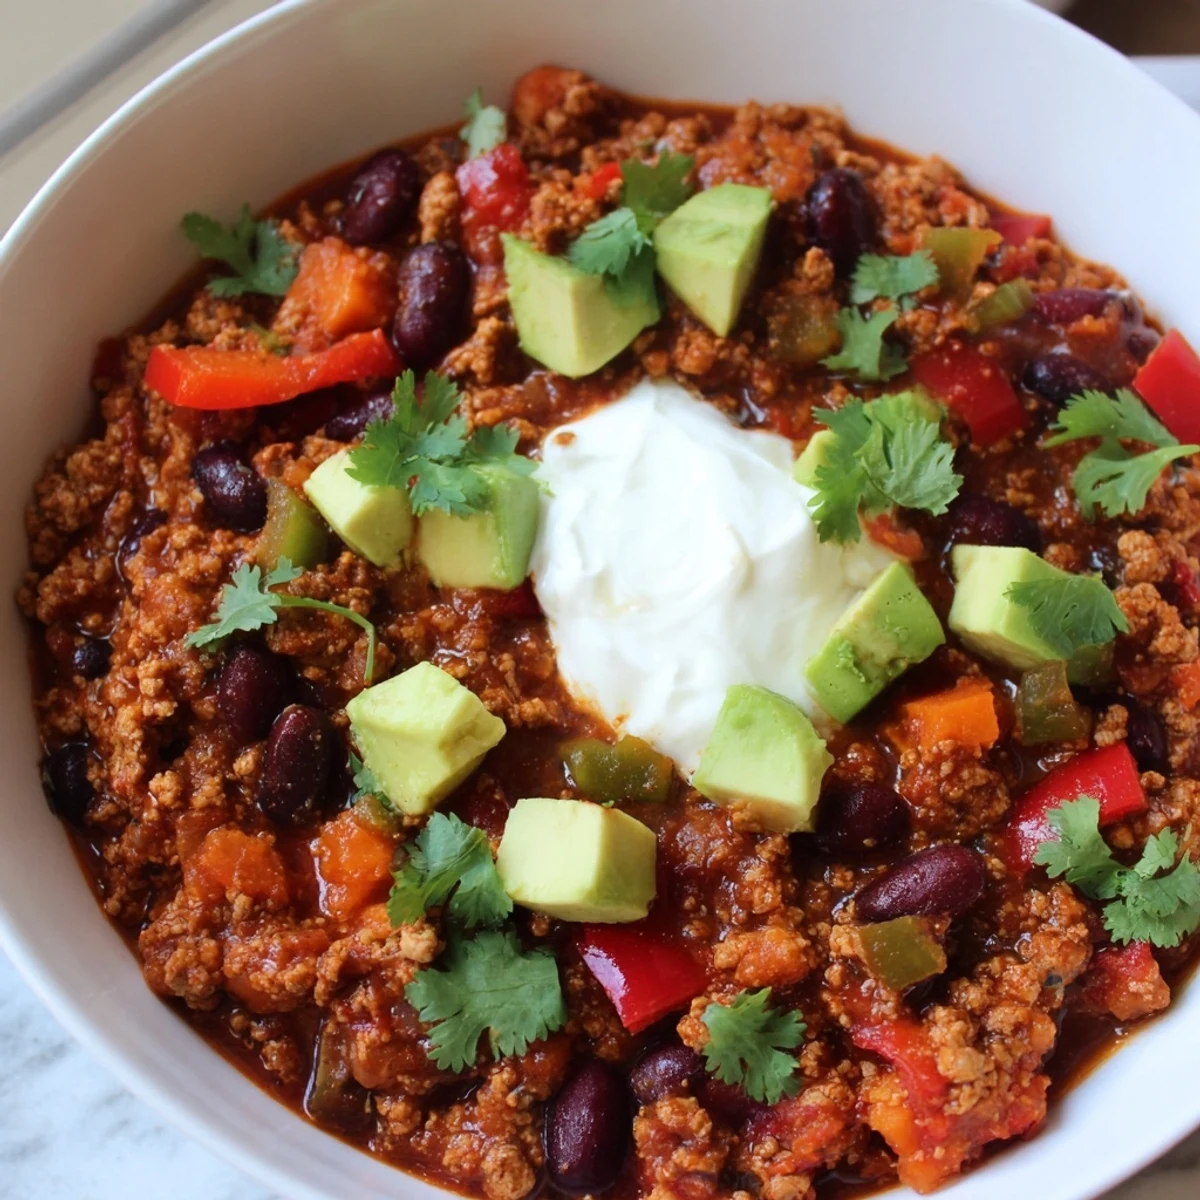
Save This hearty chili combines lean ground turkey with a colorful mix of bell peppers, celery, carrots, and two types of beans in a rich tomato-based sauce. Seasoned with chili powder, cumin, and smoked paprika, every spoonful delivers bold flavor without added sugars.
Ready in about an hour, it yields six generous servings at just 290 calories each. Top with fresh cilantro, diced avocado, or a dollop of plain Greek yogurt for a satisfying, blood-sugar-friendly meal.
My doctor handed me a pamphlet about blood sugar management, and all I could think about was how boring the food looked on those pages. That afternoon I went home, opened my pantry, and refused to accept that eating well meant eating bland. Chili has always been my comfort food, so I rebuilt it from the ground up with ingredients that love my body back. This recipe is proof that restriction can still taste like celebration.
One rainy Saturday my neighbor Dave knocked on my door holding a jar of store bought salsa, complaining that everything diabetic friendly tasted like cardboard. I ladled him a bowl of this chili straight from the stove, and he sat at my kitchen counter in complete silence until the bowl was empty. He looked up and said nothing, just nodded, and that nod was all the recipe validation I ever needed.
Ingredients
- Lean ground turkey or beef (500 g): Turkey keeps it light but either works beautifully if you drain the fat well.
- Onion, diced (1 medium): The sweetness from sauteed onion is your natural flavor base here.
- Garlic, minced (2 cloves): Fresh garlic matters because the jarred version hides sneaky added sugars.
- Green and red bell peppers (1 each), diced: Two colors mean two layers of sweetness and a gorgeous pot of food.
- Celery, diced (2 sticks): Celery adds a quiet crunch and extra fiber without anyone noticing it is there.
- Carrot, diced (1 medium): A single carrot brings natural sweetness that balances the heat.
- Diced tomatoes, no added sugar (1 can, 400 g): Always read the label because many brands sneak sugar into canned tomatoes.
- Kidney beans, rinsed and drained (1 can, 400 g): Rinsing removes excess sodium and starch from the canning liquid.
- Black beans, rinsed and drained (1 can, 400 g): Black beans add creaminess and a wonderful earthy flavor that pairs well with cumin.
- Low sodium broth (500 ml): Chicken or vegetable both work, just keep the sodium low so you control the salt.
- Chili powder (2 tbsp): Check that your blend has no hidden salt or sugar in the ingredient list.
- Ground cumin (1 tsp): This is the warm backbone of the entire flavor profile.
- Smoked paprika (1 tsp): Smoked paprika gives you that slow cooked all day flavor in under an hour.
- Ground black pepper (half tsp): Freshly cracked pepper always hits harder than pre ground.
- Dried oregano (half tsp): A small amount adds an herbal note that rounds out the heaviness of the spices.
- Cayenne pepper (quarter tsp, optional): Skip it if you are sensitive to heat or double it if you like it bold.
- Salt (half tsp or to taste): Taste at the end before adding more because the broth and tomatoes already contribute sodium.
- Optional toppings (cilantro, avocado, Greek yogurt): Greek yogurt is my favorite swap for sour cream because it adds protein without the fat.
Instructions
- Brown the meat:
- Heat your pot over medium heat and add the ground turkey or beef. Break it apart with a wooden spoon and let it cook until no pink remains, about five or six minutes, draining any excess fat if you used beef.
- Build the vegetable base:
- Toss in the onion, garlic, both bell peppers, celery, and carrot all at once. Stir everything together and let the vegetables soften for about five minutes until your kitchen smells incredible.
- Toast the spices:
- Sprinkle in the chili powder, cumin, smoked paprika, pepper, oregano, cayenne, and salt. Stir constantly for about one minute until the spices bloom and coat everything in a fragrant, rusty paste.
- Add the hearty ingredients:
- Pour in the diced tomatoes, both cans of beans, and the broth. Stir well so the spices distribute evenly through the liquid and nothing sticks to the bottom.
- Simmer and develop flavor:
- Bring the pot to a gentle boil, then turn the heat down to low and let it simmer uncovered for thirty minutes. Stir every few minutes and watch as the liquid thickens into a rich, coating consistency.
- Serve and garnish:
- Ladle the hot chili into bowls and top with fresh cilantro, diced avocado, or a spoonful of plain Greek yogurt as you like.
 Save
Save The night my daughter came home from college during her first semester, she walked through the door, dropped her bags, and said she just needed something warm and real. I had a pot of this chili on the stove and we sat at the table for two hours talking over bowls of it. It became our coming home tradition after that, no matter what time of year.
Making It Your Own
This chili forgives almost any substitution you throw at it. Ground chicken works if that is what you have, and plant based mince turns it vegetarian without losing any of the heartiness. I have tossed in leftover roasted sweet potato cubes on a whim and ended up with something I now make on purpose every fall. The spice ratios are a starting point, so trust your palate and adjust as you go.
Storage and Reheating
Chili is one of those rare dishes that genuinely tastes better the next day when the flavors have had time to mingle and settle overnight. I store it in glass containers in the refrigerator for up to four days and reheat it gently on the stove with a splash of extra broth. It also freezes beautifully in individual portions for up to three months, which makes weeknight dinners almost effortless. Just thaw it overnight in the fridge and warm it through when you are ready.
Serving Suggestions
A big leafy green salad on the side turns this into a complete meal that feels light despite how satisfying the chili is on its own. Sometimes I serve it with a few brown rice crackers for crunch instead of bread to keep things gluten free.
- A squeeze of fresh lime juice over the top right before eating brightens every single flavor in the bowl.
- Diced red onion on top adds a sharp bite that cuts through the richness beautifully.
- Always taste and adjust salt at the very end because toppings can change the overall balance.
 Save
Save Good food does not have to choose between being nourishing and being something you actually crave. This bowl sits right in that sweet spot, and I hope it finds its way into your regular rotation the way it found its way into mine.
Recipe FAQs
- → Can I use ground beef instead of ground turkey?
-
Yes, lean ground beef works well. Just drain any excess fat after browning to keep the dish lighter. You can also use ground chicken or plant-based mince for variety.
- → How do I store leftover chili?
-
Let the chili cool completely, then transfer to an airtight container. Refrigerate for up to 4 days or freeze for up to 3 months. Reheat gently on the stovetop or in the microwave.
- → Is this chili gluten-free?
-
Yes, all the ingredients listed are naturally gluten-free. Be sure to check broth and spice blend labels, as some commercial products may contain gluten additives.
- → Can I add more vegetables to this chili?
-
Absolutely. Chopped spinach or kale stirred in during the last 10 minutes of simmering adds extra fiber and nutrients. Zucchini or corn kernels also blend in nicely.
- → What can I serve with this chili?
-
A fresh leafy green salad pairs perfectly. You can also serve it alongside a small portion of brown rice, cauliflower rice, or baked sweet potato for a more filling plate.
- → How spicy is this chili?
-
The cayenne pepper is optional, so you control the heat level. Without it, the chili has a mild, smoky warmth from the paprika and chili powder. Add more cayenne if you prefer a spicier kick.
