 Save
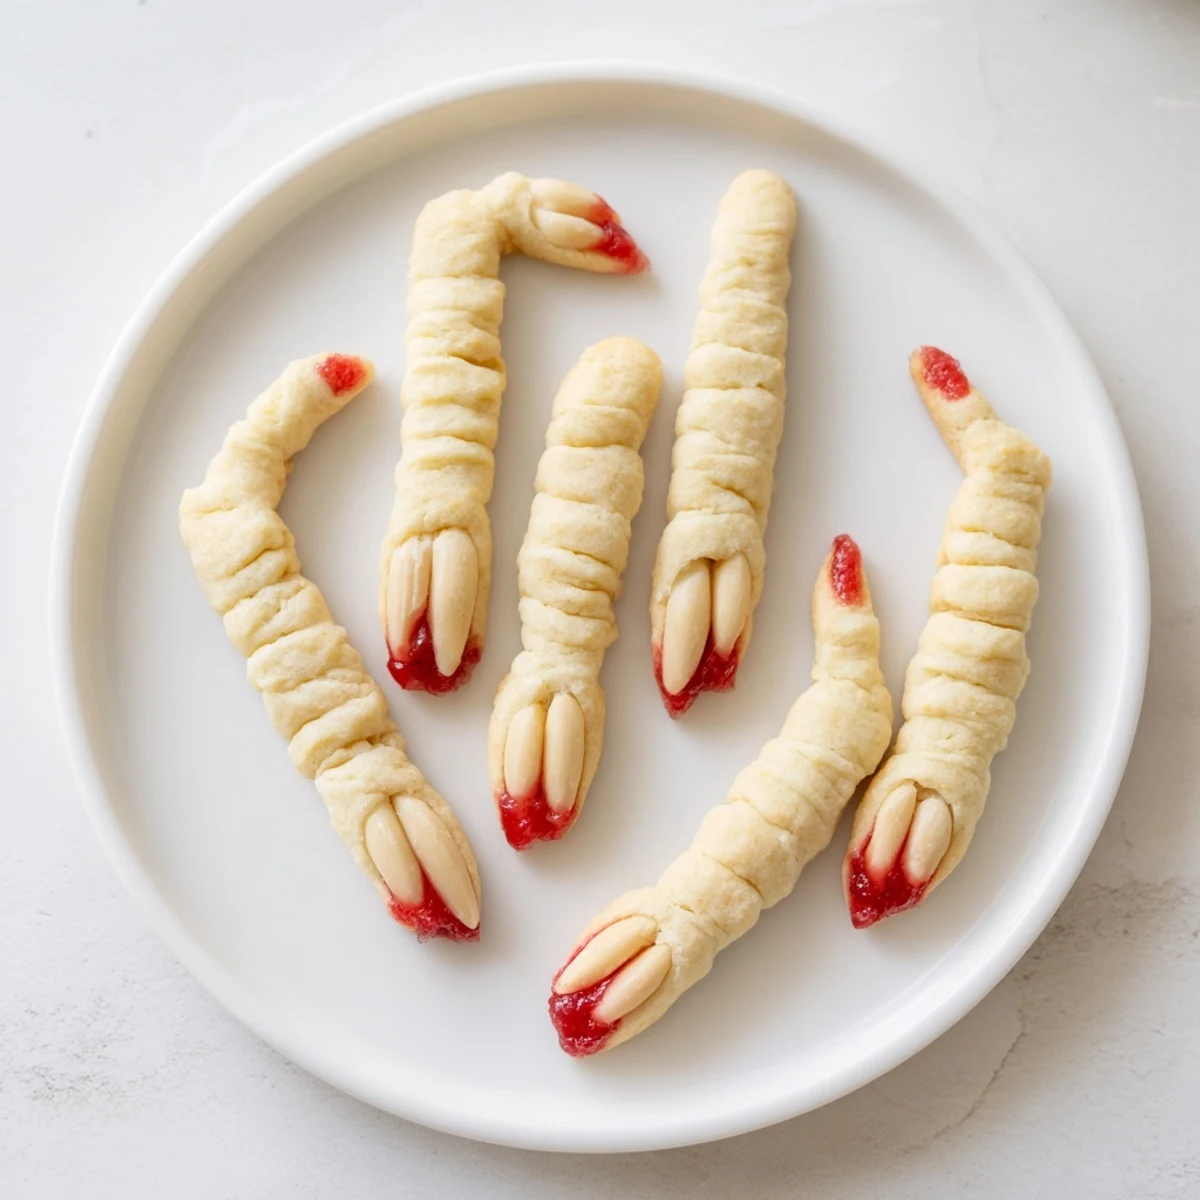
Save Frightfully fun almond-flavored cookies shaped like witch fingers, complete with blanched almond fingernails and a gory red accent. These buttery, vanilla-scented treats are perfect for Halloween parties and spooky gatherings. The dough comes together quickly, bakes in 20 minutes, and yields 24 creepy finger-shaped cookies. Kids and adults alike will love the gruesome presentation, while the classic shortbread flavor keeps everyone coming back for more.
My sister called me at midnight the first year I made these, breathless with laughter because she couldn't stop popping them into her mouth despite how genuinely creepy they looked. Something about that almond knuckle detail just hits differently when the lighting is right and everyone's slightly spooked already.
Last Halloween I brought a platter to my neighbor's annual porch party and watched grown men hesitate before finally trying one, only to demand the recipe five minutes later. There's something magical about food that makes people confront their fears and end up delighted.
Ingredients
- Unsalted butter: Room temperature butter is non negotiable here because it needs to cream properly with the sugar for that melt in your mouth texture
- Granulated sugar: This creates the perfect crisp edges while keeping the centers tender and just slightly chewy
- Pure vanilla and almond extract: The almond extract is what gives these their signature buttery nutty flavor that feels sophisticated despite the spooky presentation
- All purpose flour: Measure carefully because too much flour makes the fingers tough and nobody wants a tough witch finger
- Baking powder: Just enough to give the cookies a subtle lift so they're not completely dense
- Salt: A half teaspoon balances all that sugar and makes the almond flavor really sing
- Blanched almonds: Look for ones that are uniformly sized because variation makes the fingernails look less realistic
- Red gel or jam: The bloody detail that takes these from cute to absolutely unsettling
Instructions
- Get everything ready:
- Preheat your oven to 325°F and line two baking sheets with parchment paper because trying to transfer these delicate shaped cookies is not worth the frustration
- Cream the butter and sugar:
- Beat them together until they're pale and fluffy which takes about 3 minutes and makes all the difference in the final texture
- Add the wet ingredients:
- Mix in the egg and both extracts until everything is completely combined
- Combine the dry ingredients:
- Whisk the flour baking powder and salt in a separate bowl so you don't end up with pockets of baking powder in your cookies
- Make the dough:
- Gradually stir the dry ingredients into the wet ones just until everything comes together and stop as soon as you see no more flour streaks
- Shape the fingers:
- Roll about one tablespoon of dough into a 3 to 4 inch rope then use a knife to press in knuckle lines and gently press an almond at the tip for the nail
- Bake until golden:
- Space them two inches apart on the baking sheets and bake for 18 to 20 minutes until they're barely golden around the edges
- Add the creepy details:
- Let them cool for a couple minutes then carefully remove each almond paint a little red gel or jam underneath and press it back into place
- Let them cool completely:
- Move the cookies to a wire rack because the bottoms need to dry out slightly to stay crisp
 Save
Save My daughter now insists these aren't complete unless we play spooky music while decorating them and has started suggesting different colored food coloring for zombie fingers next year. Some traditions just take on a life of their own.
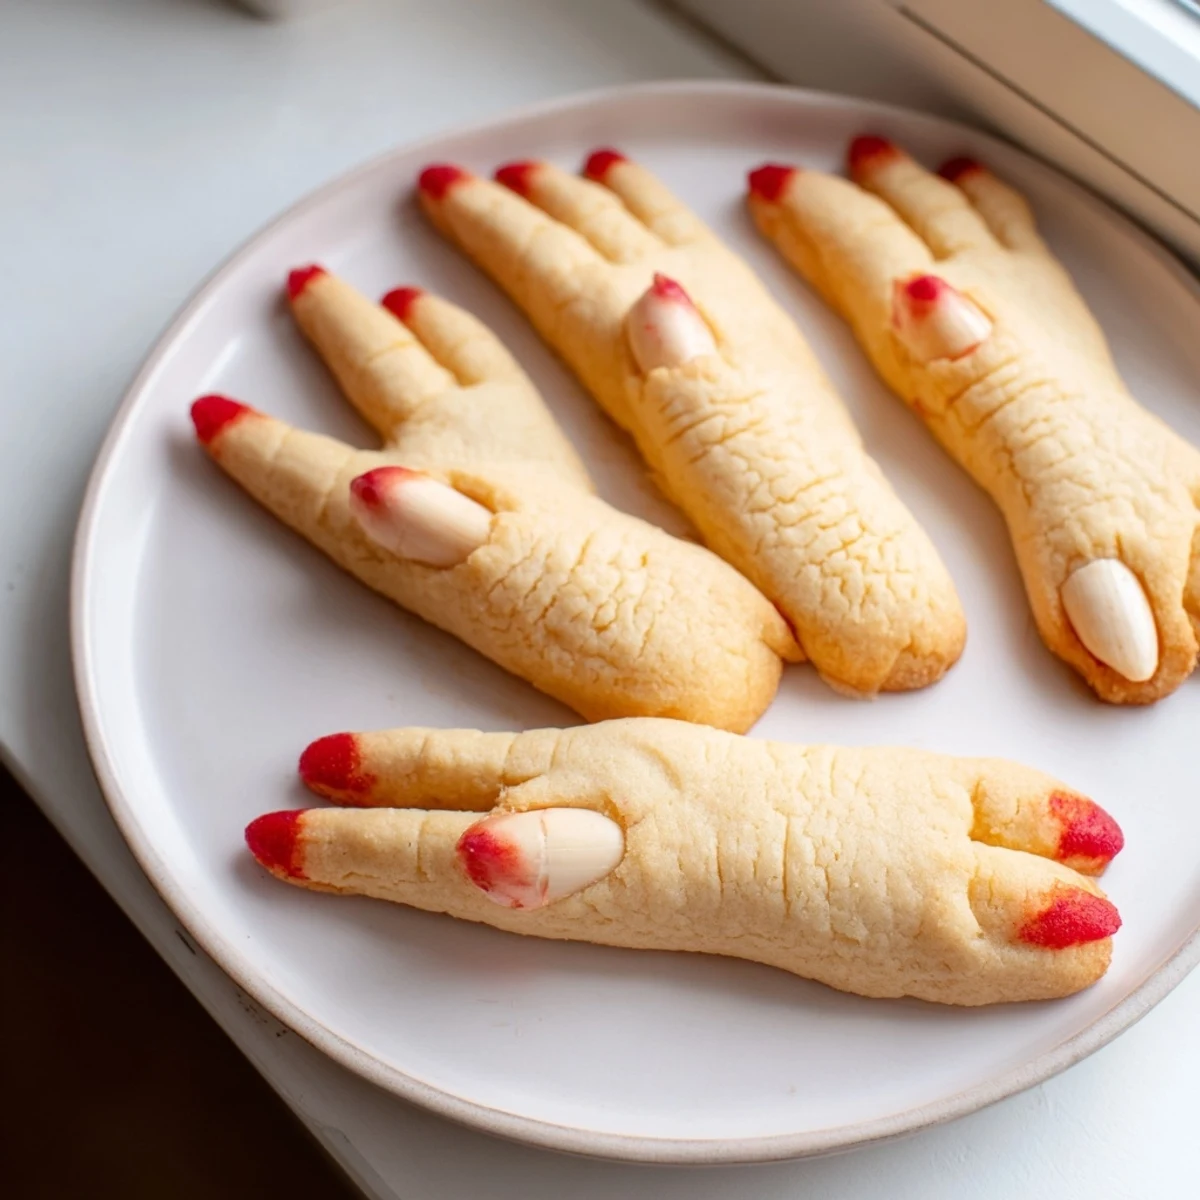
Getting The Knuckles Right
I've found that using the blunt side of a butter knife works better than a sharp one for creating those crease lines at the knuckles. Gentle pressure is key because pressing too hard makes the fingers look swollen instead of bony and weathered.
Making Them Ahead
The dough actually benefits from chilling for an hour before you start shaping which also means you can make it the day before your party. Just let it sit on the counter for fifteen minutes before you start working with it again.
Serving And Storage
These cookies stay surprisingly crisp for three days when stored in an airtight container at room temperature though the bloody effect around the nails does fade slightly over time.
- Arrange them on a platter scattered with candy spiderwebs for maximum impact
- The almond flavor pairs beautifully with hot apple cider or spiced wine
- They're sturdy enough to pack into tins if you're gifting them to friends
 Save
Save Hope these creepy little fingers bring some delightfully nervous laughter to your Halloween table this year.
Recipe FAQs
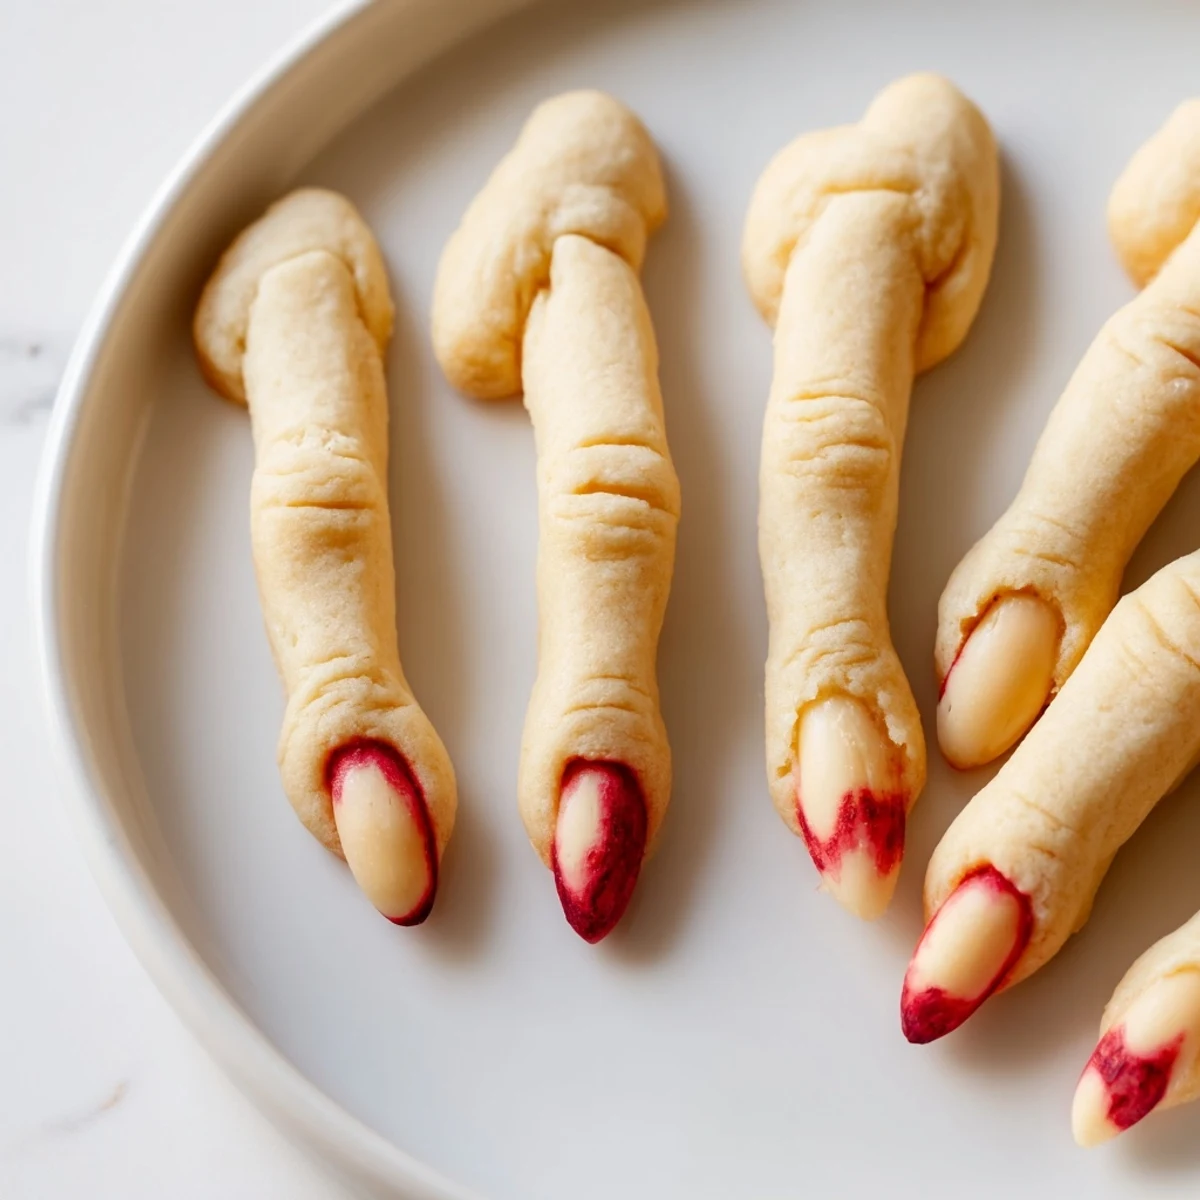
- → How do I make the fingers look more realistic?
-
Use a knife to create knuckle lines in the dough before baking, and gently press a blanched almond at one end for the fingernail. After baking, apply red food coloring or jam to the fingernail bed and press the almond back in place for a gory effect.
- → Can I make the dough ahead of time?
-
Yes, you can prepare the dough and refrigerate it for up to 2 days before baking. Let it soften slightly at room temperature before shaping into fingers.
- → What can I use instead of almonds for the fingernails?
-
You can use sliced almonds, cashew halves, or even create fingernails using white chocolate or candy melts. For nut-free options, try using sunflower seeds or shaped pieces of marzipan.
- → How should I store these cookies?
-
Store in an airtight container at room temperature for up to 5 days. Separate layers with parchment paper to prevent the bloody details from smearing. The cookies can also be frozen for up to 3 months.
- → Can I make these cookies colored for extra creepiness?
-
Absolutely! Tint small portions of dough with green or pale gray food coloring before shaping. You can also brush the baked cookies with a mixture of corn syrup and food coloring for an extra eerie skin tone effect.
